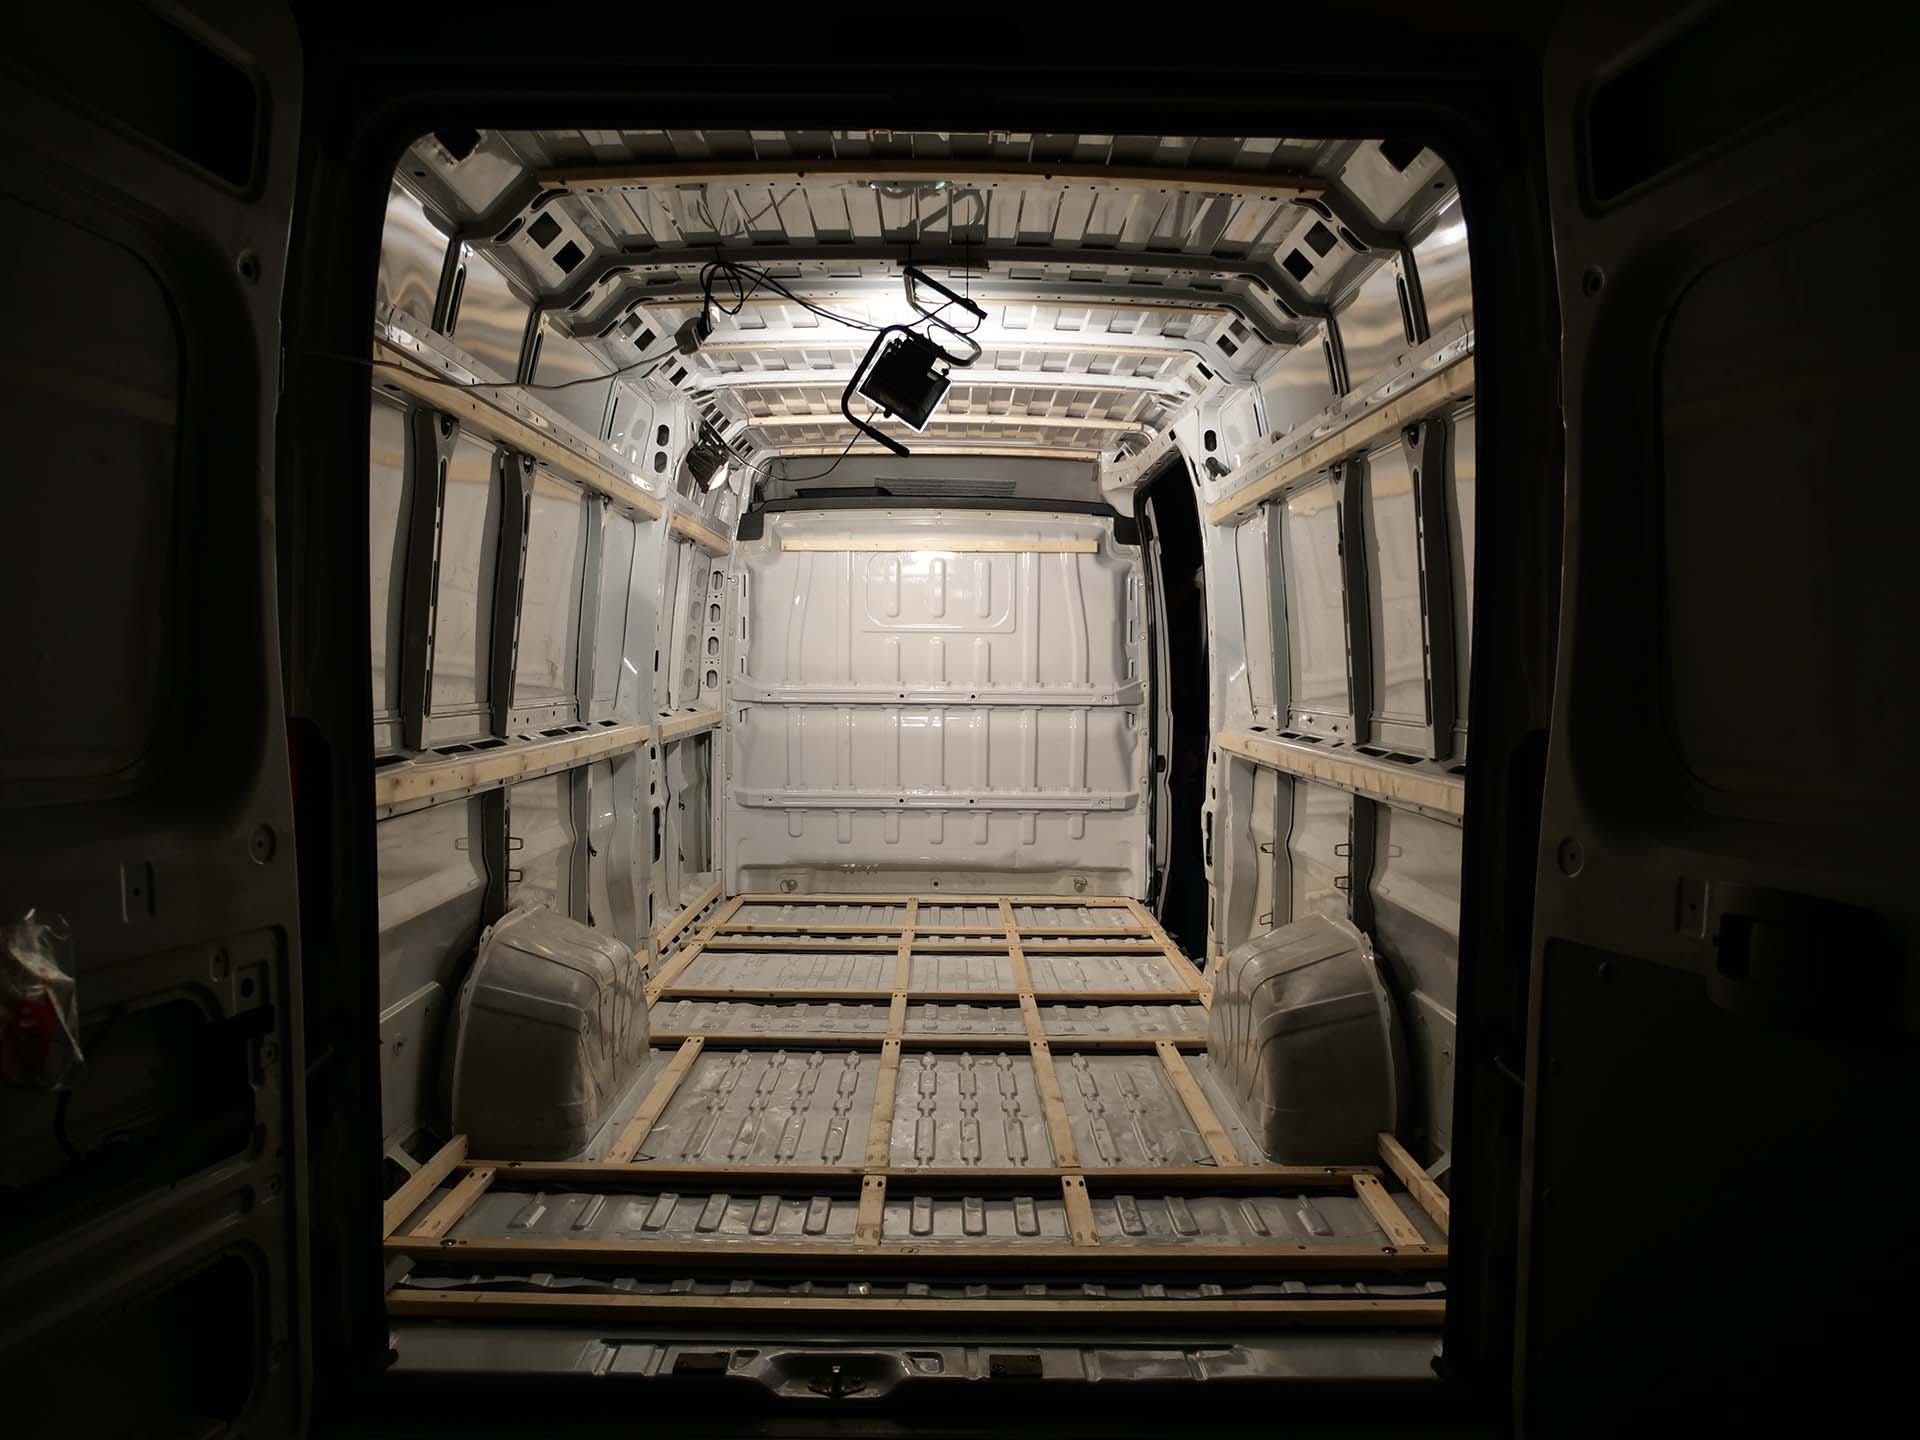
In order to be able to screw everything that comes afterwards comfortably - and that with conventional screws - I recommend to install a substructure. This is especially necessary for the floor, as it is the only way to create the necessary distance between the sheet metal floor and the camper floor for insulation and hoses.
Questions
This article is intended to answer the following questions:
- Which wood do you use?
- What is the best way to connect it to the car?
- At what intervals should wood be applied?
- Does it need to be varnished?
- How thick must the wood be?
- How is a maximum use of room height made possible?
Planning
Which steps were important in the planning process to define tools and materials?
The planning of the usable room height plays a role in the dimensioning of the slats, as thicker slats on the floor and ceiling reduce the usable height.
I myself am 180cm (when I stand upright). My goal was to be able to stand upright with "some room". As you can see, a room height of about 183cm is the goal. The calculation above is based on the following assumptions.
- The insulation of the floor is 25mm thick.
- The MDF/chipboard of the floor is 12mm thick.
- The ceiling panel is 6mm thick.
- The deco wood on the ceiling is 20mm thick.
- In total there is 190cm "air" from the floor to the metal beams on the ceiling.
Required tools
- A guide rail for the circular saw.
- A circular saw.
- A drill / screwing machine.
- Kreg JIG or copy of woltcraft - we worked with the woltcraft one, which worked wonderfully.
Required material
We have made quite a lot of effort to exactly record at which point which board would be ideal. But in the end there was a gold standard from which we simply bought 75m:
- 75m of \(25mm * 42mm\) wood.
- self-tapping screws 4,8x38, approx. 100 pieces. The usable thread length is about 27mm - ideal for our 25mm thick boards.
- Kreg Jig or Spax screws (4x40mm). (Check)
I didn't varnish the wood, which might not have been so stupid. If you should have the leisure, that would not be stupid surely. On the other hand, there should be no moisture in the wood because of the steam stop foil in front of it.
For the sake of completeness, here is the slat planning, maybe it will help you:
Procedure
First of all it is important to plan your cable and water routing before building the floor construction.
We started with the crossbars, cross means "cross to the direction of travel". For the placement of the battens there are several places, which is why I planned this in advance with CAD. I recommend to use the threads, at which the lashing eyes were originally, for the fixation of the laths. This keeps the bomb-proof and the best: You don't have to attack the lovingly painted sheet metal skin with self-cutting screws. However, we also fixed the middle of a "lashing lath" with a sheet metal screw. We underlaid the battens with an anti-slip mat from the DIY store which is slightly elastic (really minimal). With the lashing slats, the thread must also be placed between the slat and the sheet metal - since the thread is not on a bead. This is the only way to prevent the lath from bending when the screws are tightened. See this picture:
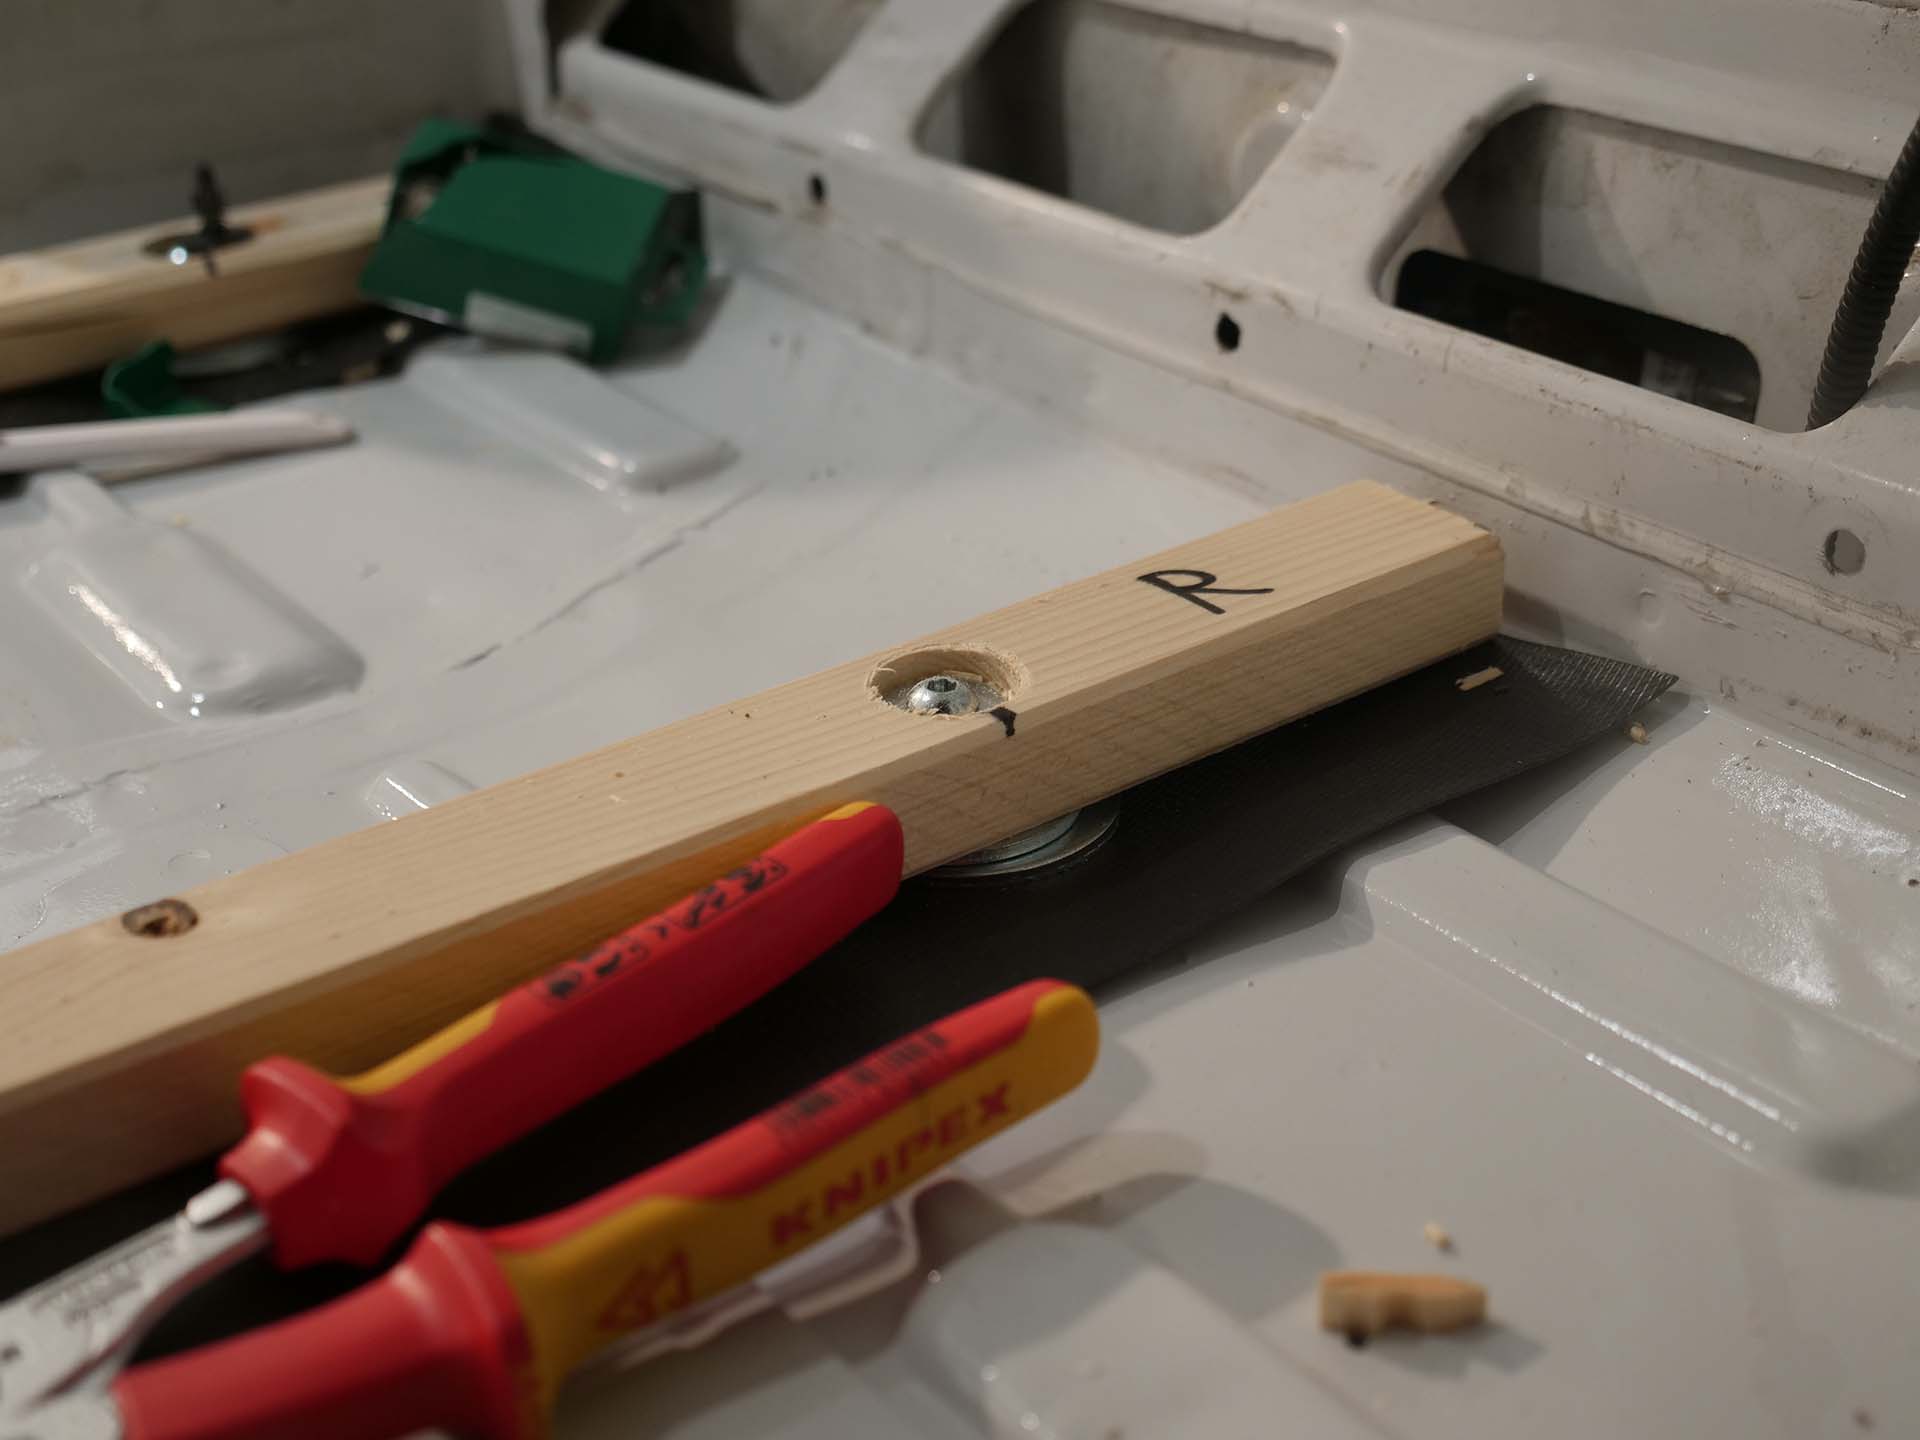
Three more crossbars (at the front of the cab, in the middle at the height of the side sliding door and at the back) were only fixed with sheet metal screws, because unfortunately there was no lashing eye thread available.
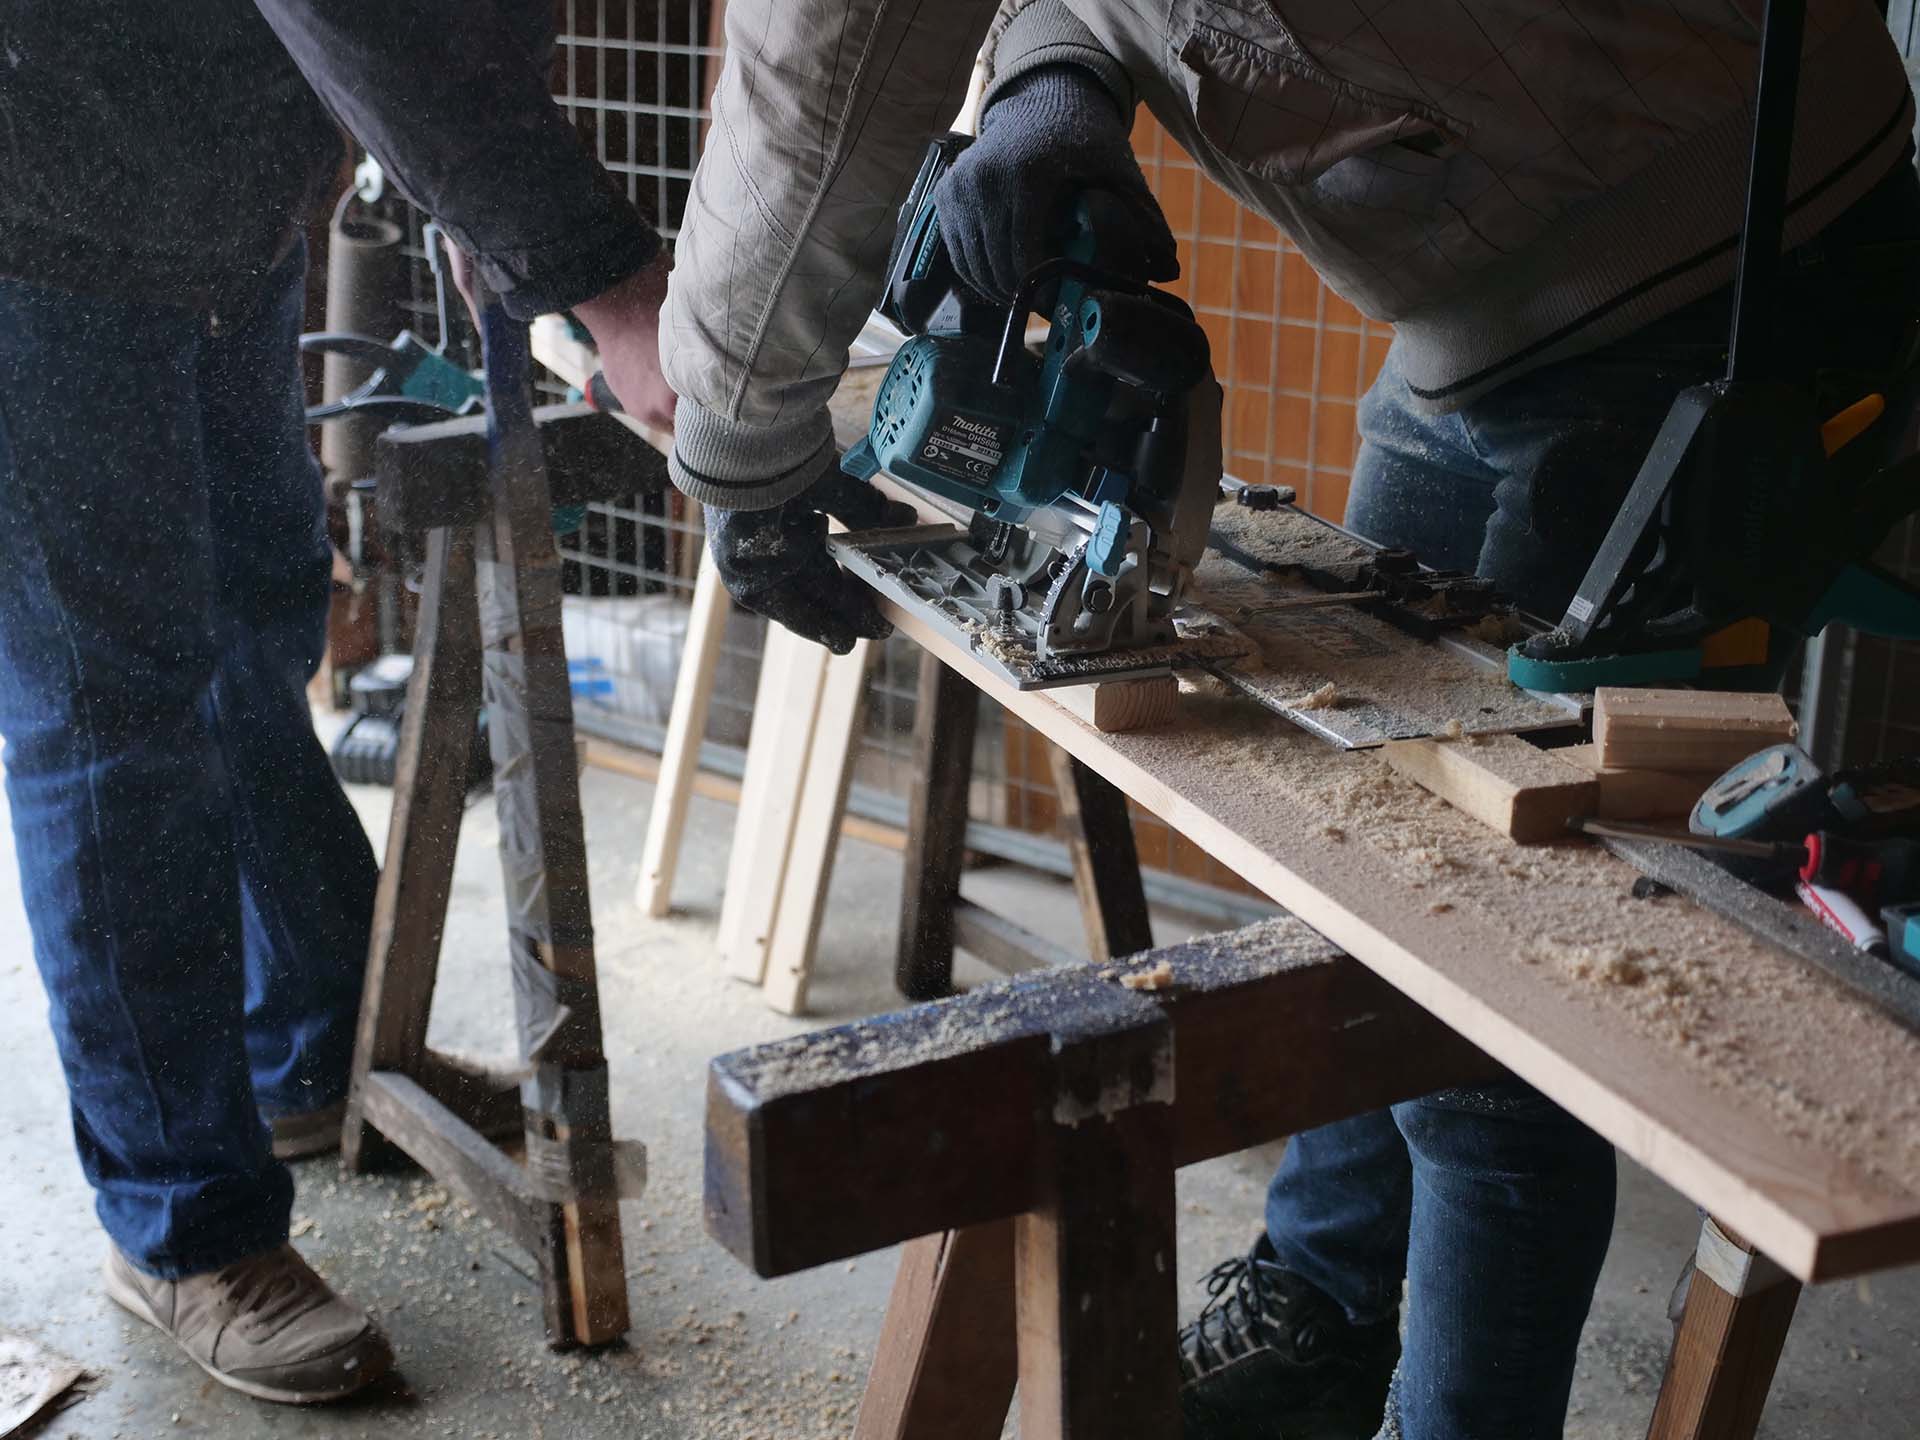
We screwed the longitudinal slats with the Jig System. At the beginning we first measured the distance, sawed in the next room and drilled blind holes and then screwed them in. In the course of the process I noticed, however, that it is faster and more precise to saw the slats directly in the van to the correct length - luckily I have an electric circular saw!
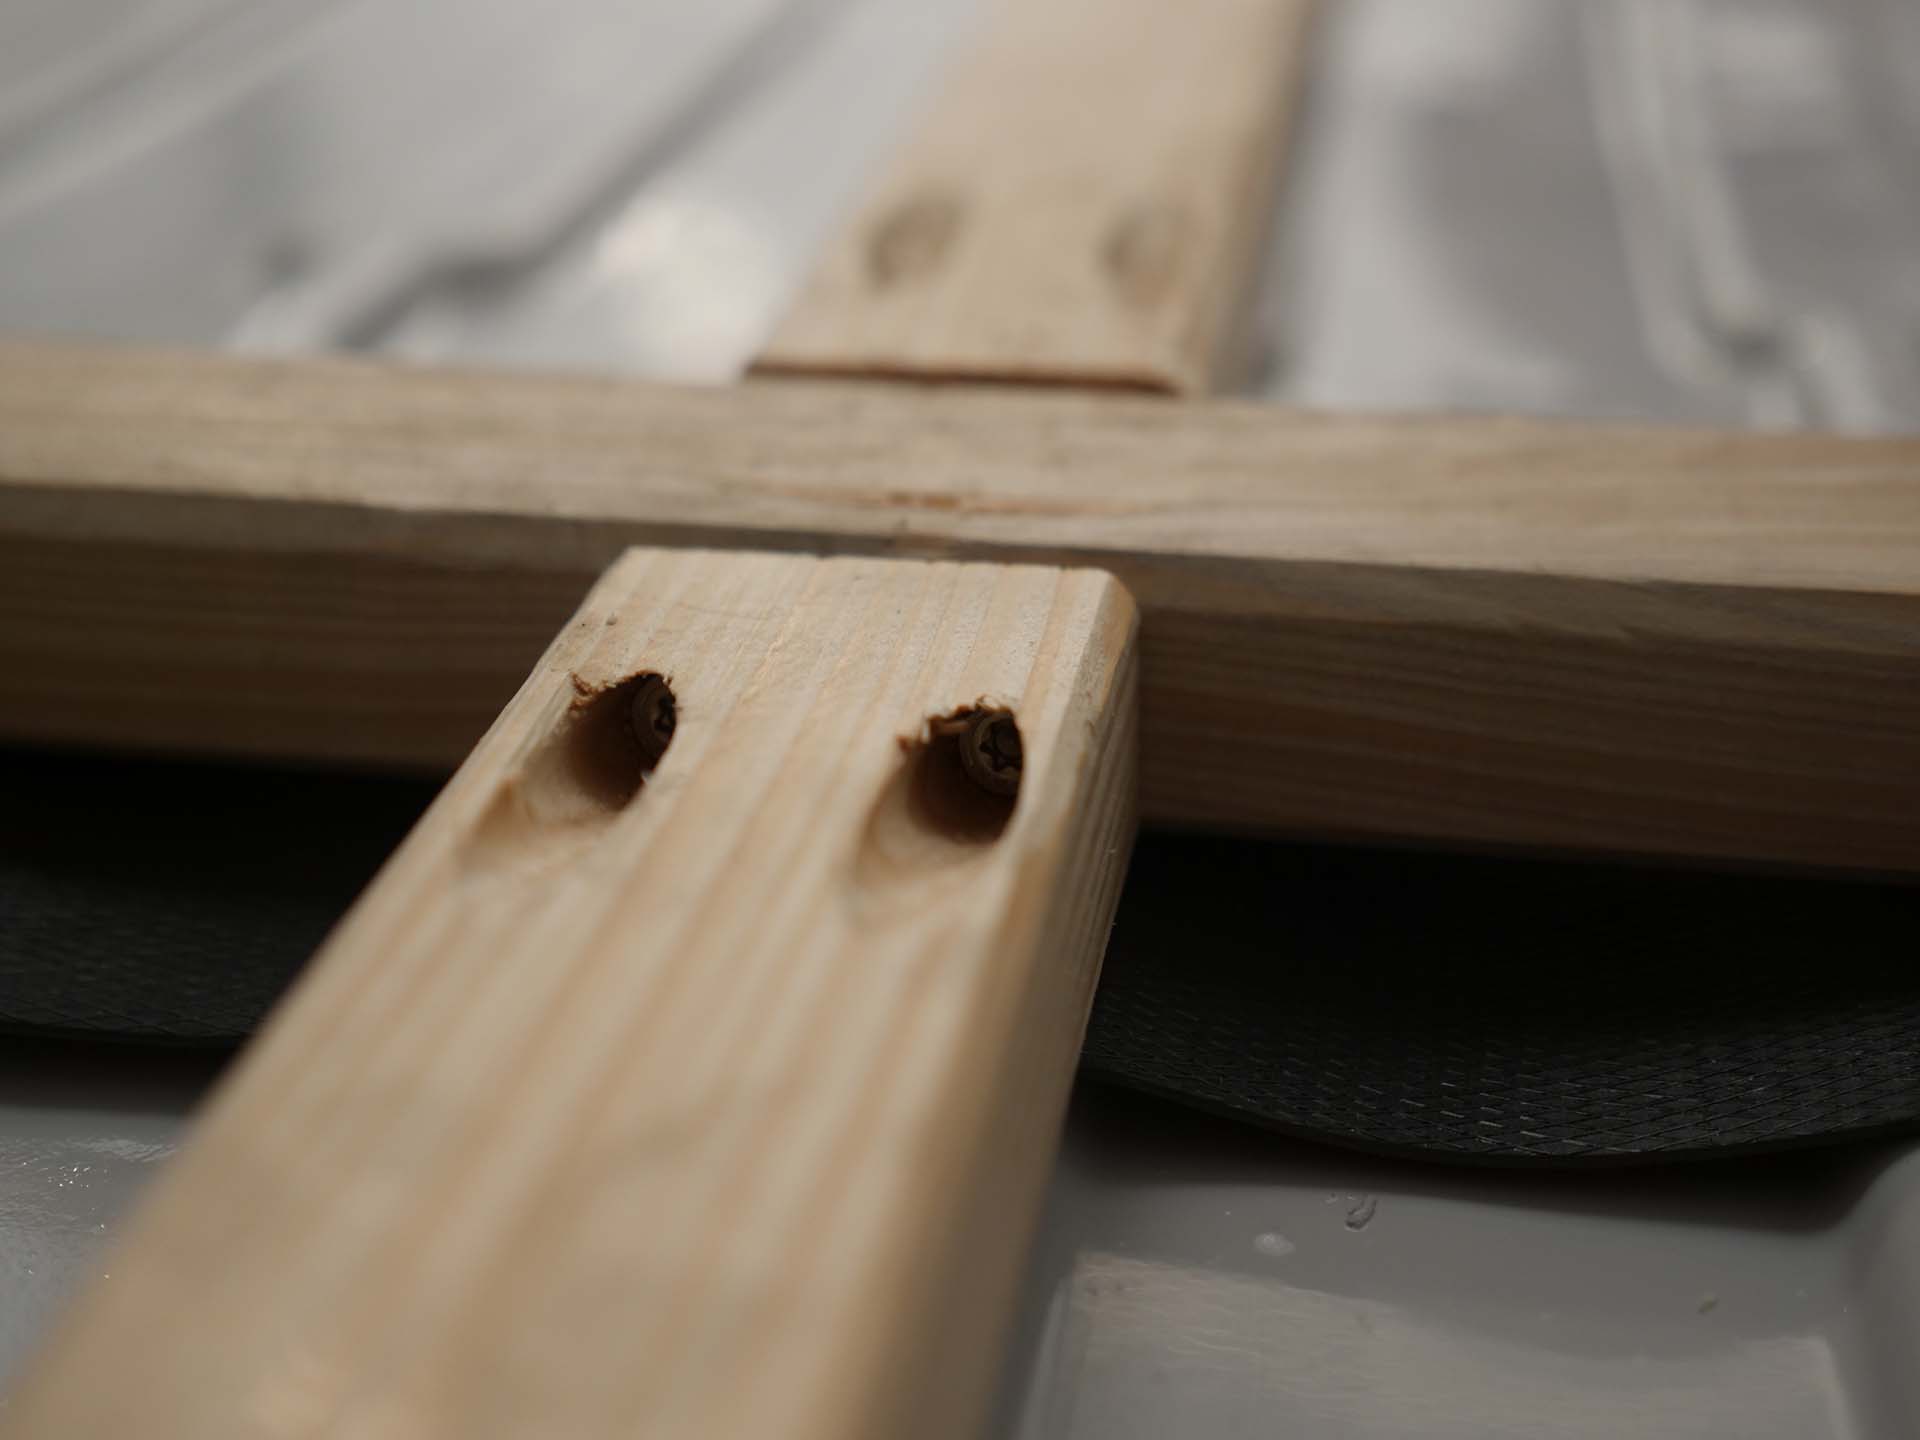
Whenever you work with the jig, make sure that the screwing machine is set to 1-2 when screwing in the screws - otherwise the screws will simply rotate the blind hole.
What was the installation procedure like?
The sides are the simplest, because it is relatively straight here. Just make sure to choose the places for the battens so that the place in the interior is marked. I fucked that up.
I had the latte here first, because we didn't have a suitable latte for a higher one, but 2 weeks later I corrected this with the 45mm thick latte.
TODO: Insert image of correction here
With the slats it helps to have a second man / woman (thanks, Lukas!), because then one can push up the slats and the other screw. Pressing up is necessary because the same applies here as always - nothing is straight in the van: the ceiling also has a curve. And the batten should follow this curve. Since the metal struts themselves also have an angle (in my case 20°, except for the 5° at the back), we angled the wooden slats for the ceiling over the entire length. So the slats lie flat against the metal struts and the ceiling, do not protrude into the interior and thus do not reduce the usable room height.
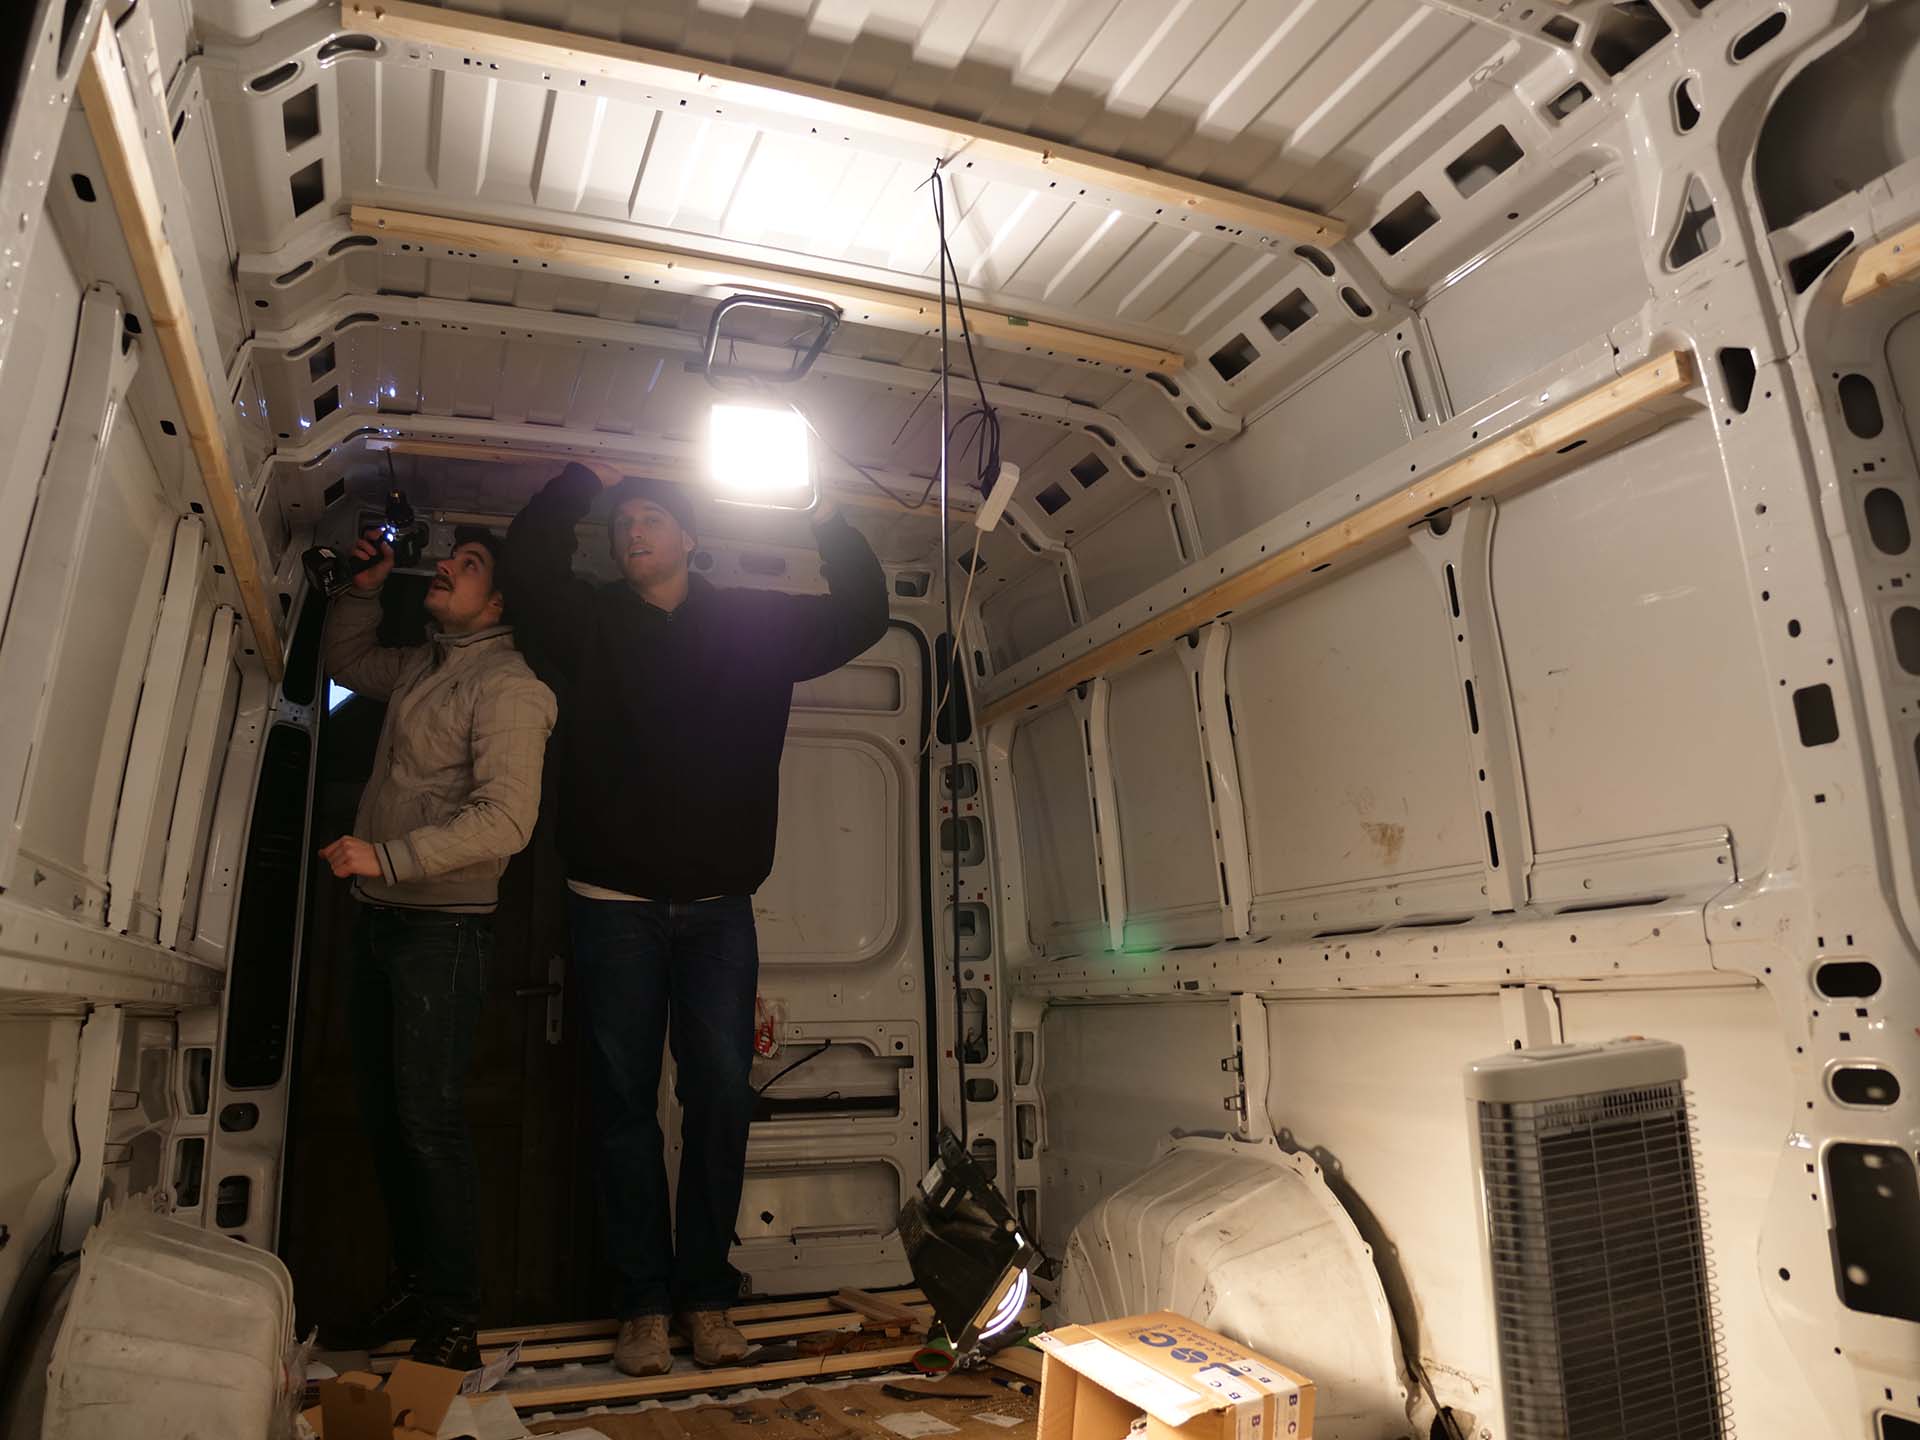
Before mounting the battens, make sure you consider where the roof hatches should go later. You can mount the ceiling batten in front of and behind the existing metal strut. If a hatch is to be placed between metal struts 2 and 3, I would mount the wooden slats "in front of metal strut 2 and behind metal strut 3" to maximize the usable distance between the metal struts.
Do not drill into the roof at the ceiling, but only into the sheet metal supporting beams - otherwise the screws look out from above.
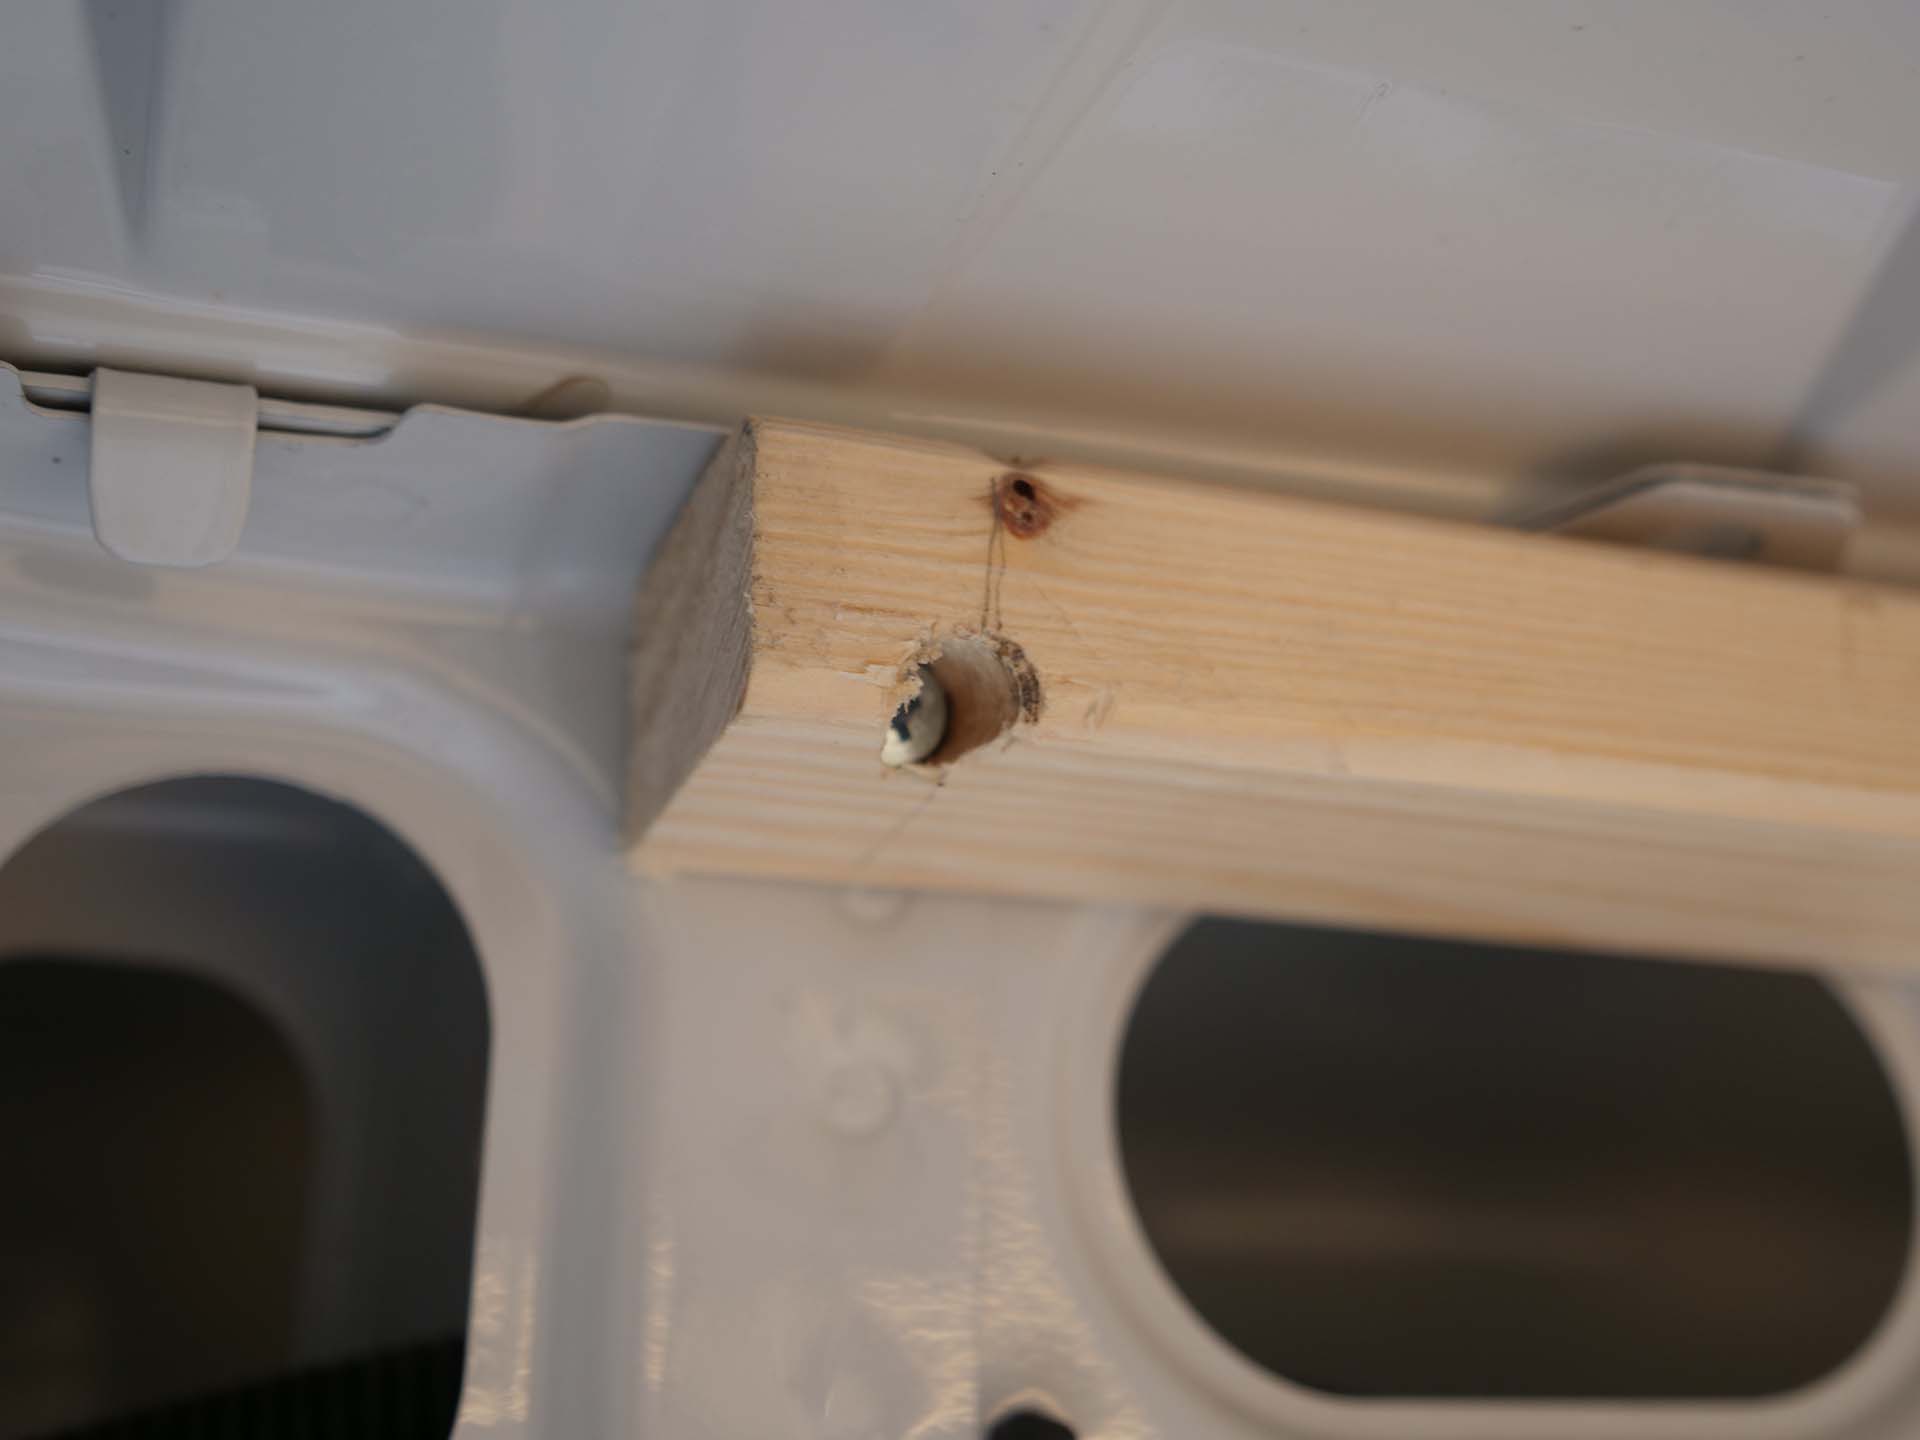
Ergebnis
After 3 days this, bombproof, slightly creaking result stood. I underestimated the effort to be honest, we needed two Saturdays (10h) and one Sunday (6h) = 26h for two.
