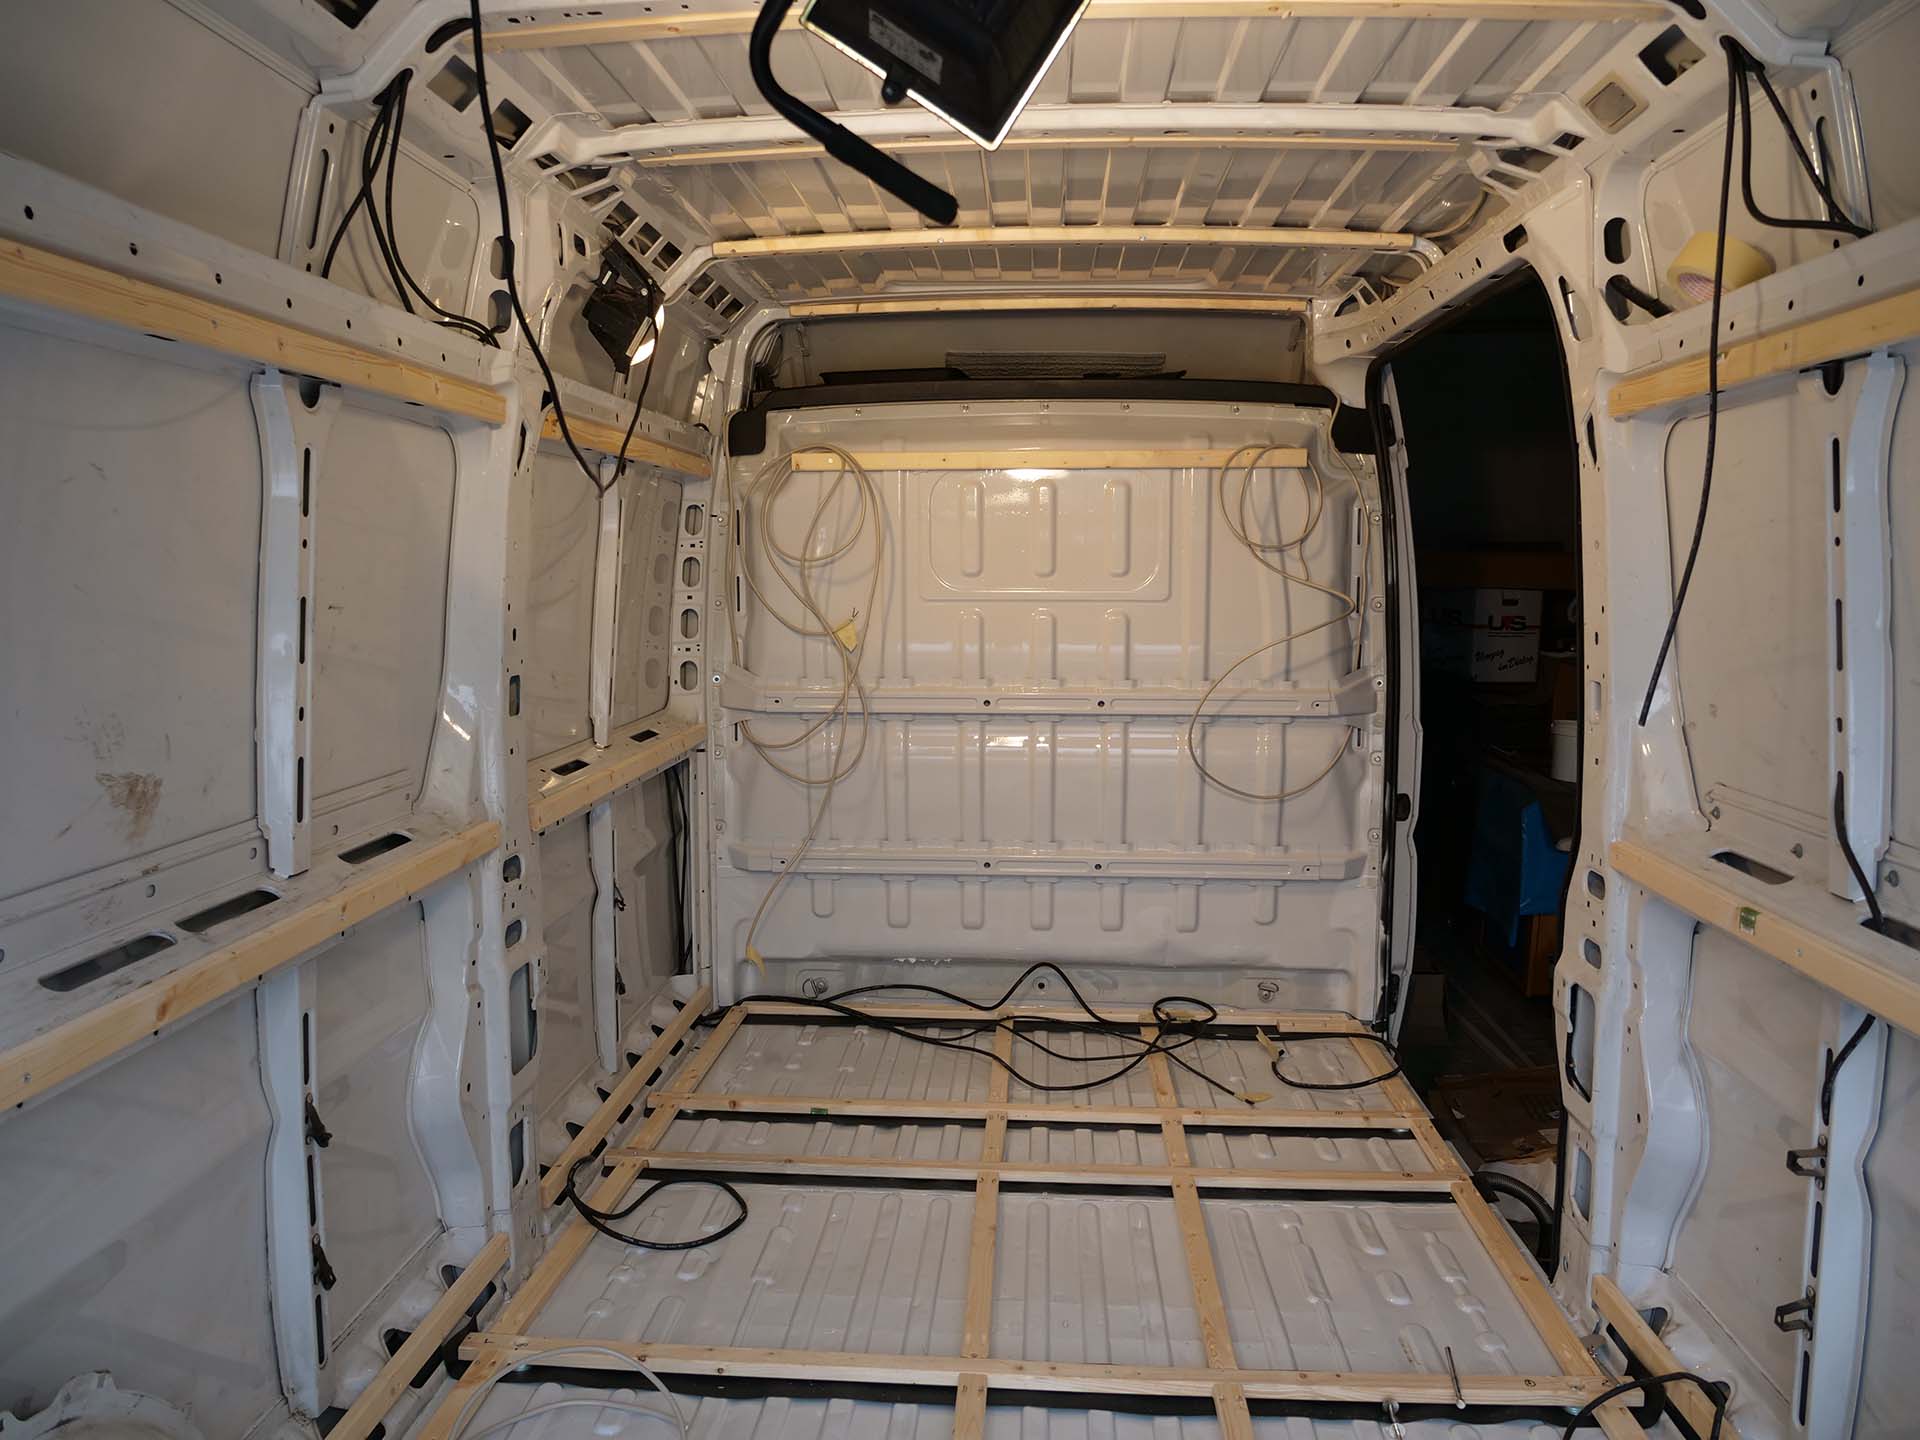
Before the complete interior is covered with insulating material we would like to use the beautifully exposed holes of the numerous structural elements to thread in the cables. This page serves more to provide some basic food for thought - the respective setup depends too much on your van or your connection wishes.

Required tools
Quite simple in this case:
- Cutting pliers
- (Flexible claw gripper, can help when fiddling through the cables)
Required materials
Here is an overview of the cables I ordered - just to give you a rough idea:
- 12m from 2x4mm²
- 42m from 2x2.5mm²
- 5m from 2x6mm²
- 10m of 2x1.5mm² (for the power supply of the rear view camera)
- 50m 230V cable from the DIY store.
Procedure
Think carefully, where you which electricity needs - I had forgotten half in the first attempt. Here my checklist and information about the used cable cross section with DC cables:
- Computer and monitor (240V AC, 2A)
- kitchen connection for household appliances, coffee machine, microwave (240V AC, 5A)
- Pump (12V DC, 5A, 4mm²)
- Truma Combi D6 (12V DC, 7A, 6mm²)-
- Table light LED (12V DC, \(\approx\)2A, 3mm²)
- LED spots bath (12 DC, \(\approx\)2A, 3mm²)
- LED spots main room (12V DC, \(\approx\)2A, 3mm²)
- LED light kitchen (12V DC, \(\approx\)1A, 3mm²)
- Ceiling lighting (12V DC, \(\approx\)2A, 3mm²)
- Refrigerator (12V DC, 2A, 4mm²)
- Cable for light switch switch (corresponds to the respective cable cross-section)
The amps marked with \(\approx\) are estimated and probably overkill. In case of doubt a slightly thicker cable will not hurt. In the end it also makes it easier to make a junction - if you forgot a power sink.
Here is an overview, where I need electricity:

Don't forget the cables for light switches. You don't just want to go from the battery to your ceiling lights. You want to go from your battery to a switch and then to your deck lights.
I recommend to measure everything with a tape measure and then add 10%. Sharing my bill doesn't make sense as I had to order 2 more cables.
When installing make sure not to mix 12V with 230V cable and run in separate channels.
When threading the cables it is extremely helpful to have a second person helpin (thanks again, Lukas!). Often the stubborn cable moves only if one pulls, pushes, wobbles and books 4 places at the same time.
Cable properties
It was important to me to have a red and black stranded wire (so as not to confuse myself with having to measure two strands of the same colour) and to have an extra sheath / protection around it (no or only later cable damage and electro-execution). These requirements were met wittily by audio cables. And best of all: they weren't really more expensive.

Cable cross-section has already been addressed to suffice here, here and here: Since I wanted to fuse everything separately - and therefore in the end a separate cable runs from the fuse box to each consumer - I was always below the amps in the tables.
In total, the wiring took about 5 hours - minor improvements were left out at a later point in time.
Attention, you work here with electricity, take extreme care and only carry out installations yourself if you are a specialist. I do not take over any guarantee for the above procedure.If you are unexperience you risk your and the live of others.