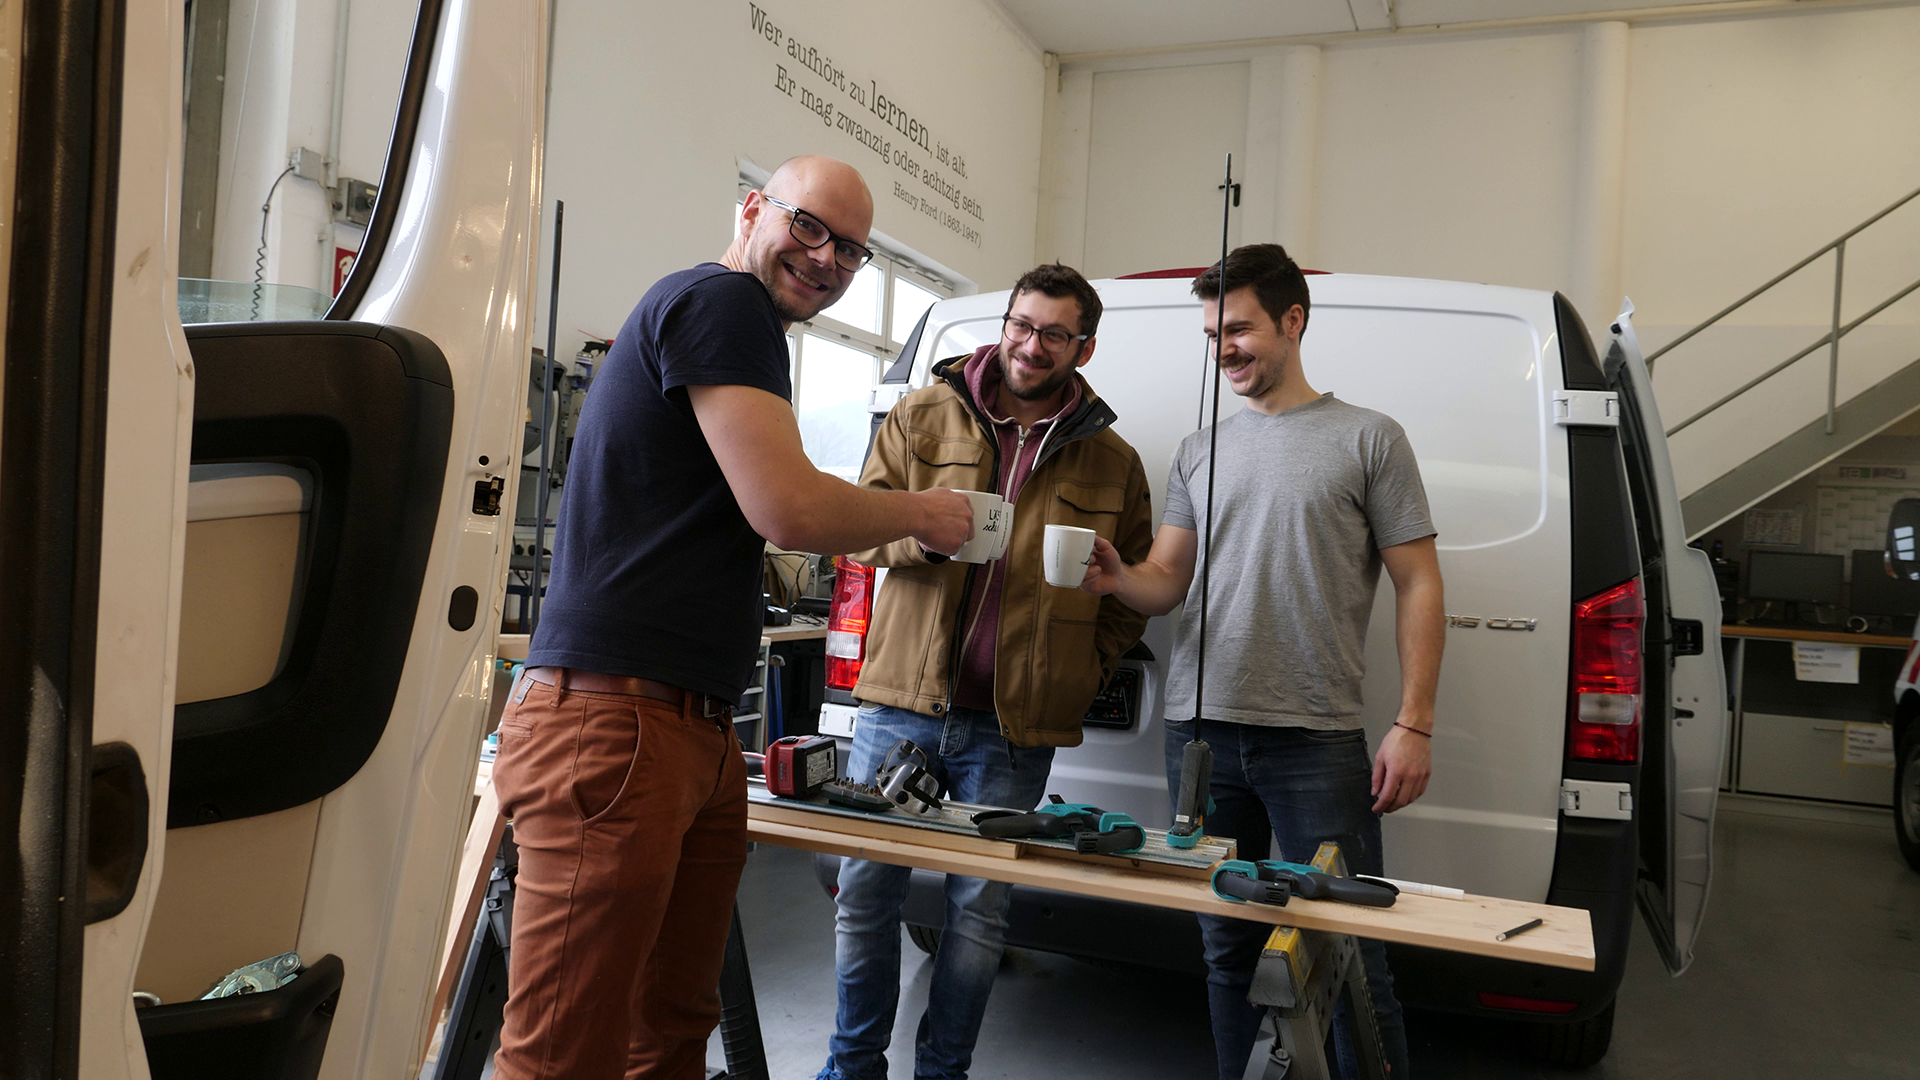
This step actually went much faster than I had hoped: At 8:00 we had an appointment, at 9:00am the tools were unloaded after coffee and at 16:00 we were finished with three roof hatches and a window - and that with minimal collateral damage.
While some things were harder than planned, it was easier. What do we need?
Required Tools
- Jigsaw, don't take Flex (it just makes dirt).
- Grinding machine (if available) or a file or sandpaper.
- Cordless screwdriver or drill.
- Circular saw (for frame construction).
- Kreg-JIG (my new favorite gimmic, also for frame construction).
- Any drill in the range of 4mm-6mm to pre-drill the hole for the drill saw.
- Drill saw 22mm for metal.
- Cartridge press (compressed air would be a luxury you wouldn't want to miss).
Required Materials
- Crepe tape to make marking easier and to catch chips.
- Abrasive paper.
- Corrosion protection for the roof, if you are lazy take Hamerite metal protection varnish, otherwise see varnishing. If you are even more lazy, take a paint pencil - in my opinion it is not a war decision at this point, because the edge is flooded with Sikalastomer anyway and will never see the daylight again, let alone water.
- 1x300ml Sika Flex to glue the wooden frames.
- 3x300ml SikaLastomer-710 according to installation instructions of the window to seal the exterior windows. Roughly I would say 300ml for the window and 200ml for each Mini Heki. Does not harden out (no glue) but more for waterproofing
And of course the window and the hatches, with me it was
- Micro hatch for shower, the Installation instructions can be found here
- Corresponding installation kit, bill was here: 25mm substructure / frame batten + 9mm roof surround + 1mm sheet metal. I will probably order one larger.
- 2x mini hatch for living room and kitchen, installation instructions here
- Window for table. Theoretically I have 108cm * 54cm space. Installation instructions
Is the lighting bright enough?
A few more words regarding the expected brightness of the room. The installed hatches and the window do not make it super bright - but the light output is sufficient for my needs. Since I wanted to be as stealth as possible, I also wanted to avoid being directly recognizable as a camper from the outside due to many windows. Also for the insulation (warmth as well as acoustics -> privacy) it is of course better to have several layers of Armaflex than a window. In addition you can open the sliding door when you are standing in the greenery and have light en masse. You can also install more eletric light sources. Also the Dometic windows are quite expensive (400€ and more) while the hatches (approx. 100€) are cheaper. Consider for yourself how important expenses for windows, natural light and thermal insulation are for you.
The procedure
First of all: Do not work with a spirit level during this step: Orient yourself at the edges of struts. As a rule, the van will not stand horizontally and everything is crooked anyway. If the screws are not original Dometic screws, make sure that the screws you're using are not longer than the original screws - in case of doubt shorten them with a side cutter. If you fuck it up (like me), my instructions to solve the problem again are given below.
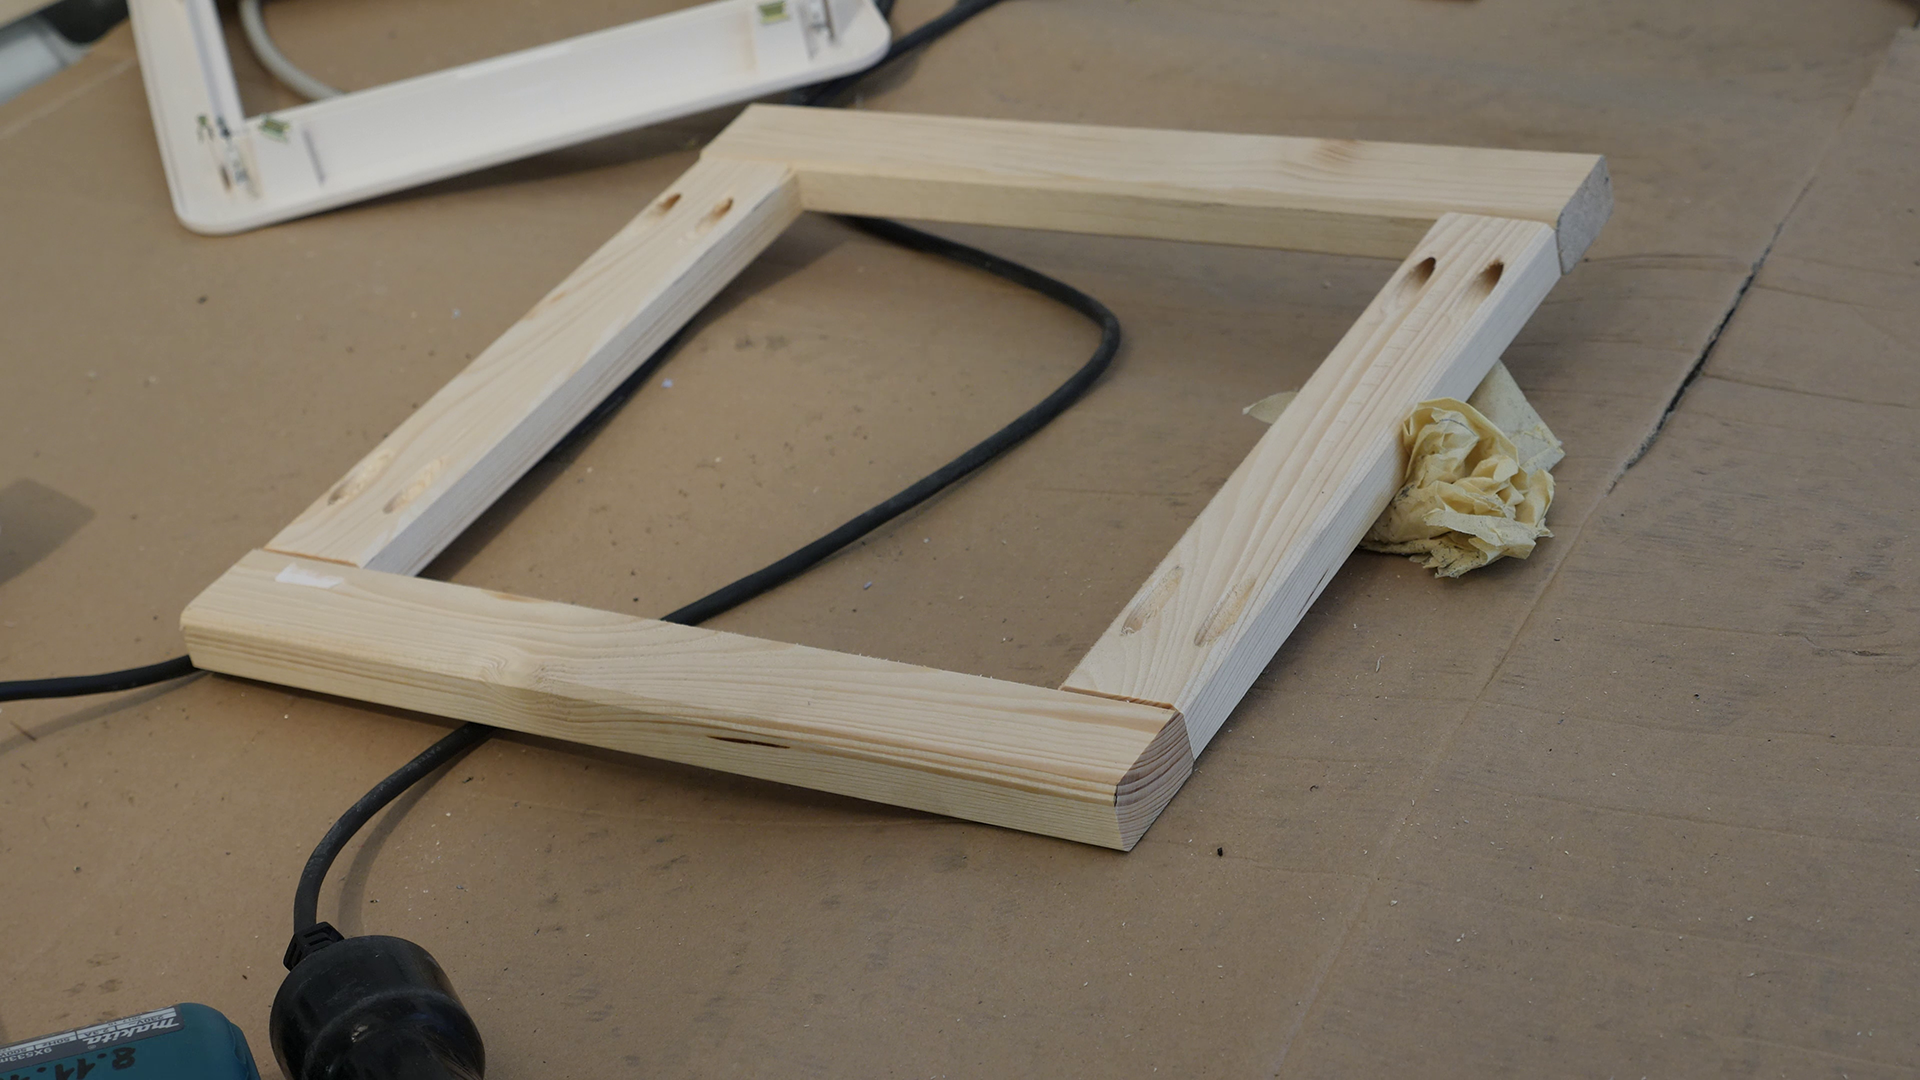
Basically we always proceeded the same way with windows and hatches:
- build the mounting frame: This should be so large that the window/ hatch sits cleanly with some air (3-4mm) in it. Here we also used the jig system again, which was already used for the substructure of the floor.
- clean interior and exterior with window cleaner
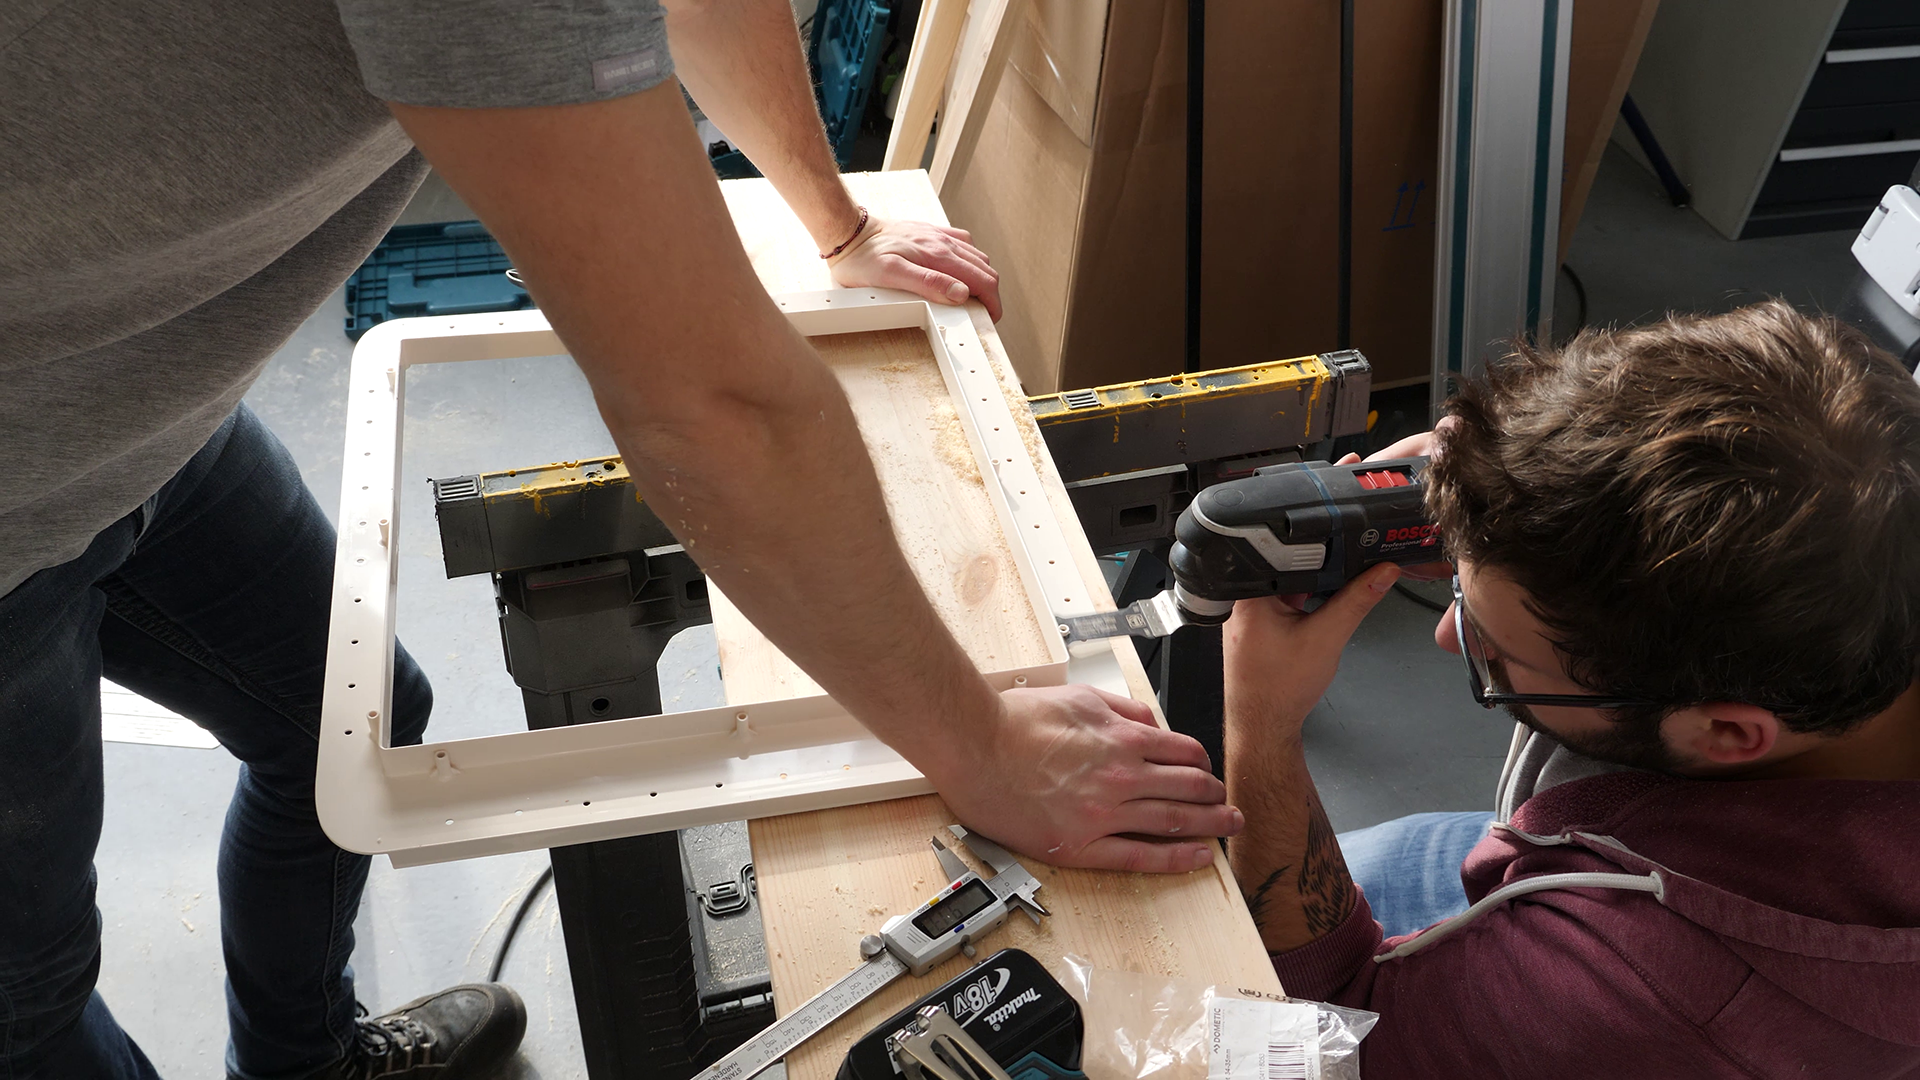
- tape the inside and outside with crepe tape and mark the outer cutting edge on it. Mark half the diameter of the drill saw in the corners (in our case 11mm).

- four 22mm holes at the corners with the drill saw (each 11mm from both cutting edges), the hole should stop exactly at the future cutting edge.

- saw out the corners of the holes and then saw out the edges to their full length.

- if necessary (if you have sawn too small), repair.

- sand edge and seal / varnish.

- according to the assembly instructions, the support points for the mini hecis must be shortened according to the wood frame and wall thickness. We had to remove about 7mm.
- for roof hatches, fill the beads that go down with Sikalastomer so that the contact surface is "flat" (i.e. either sheet metal from the roof or Sikalstomer).
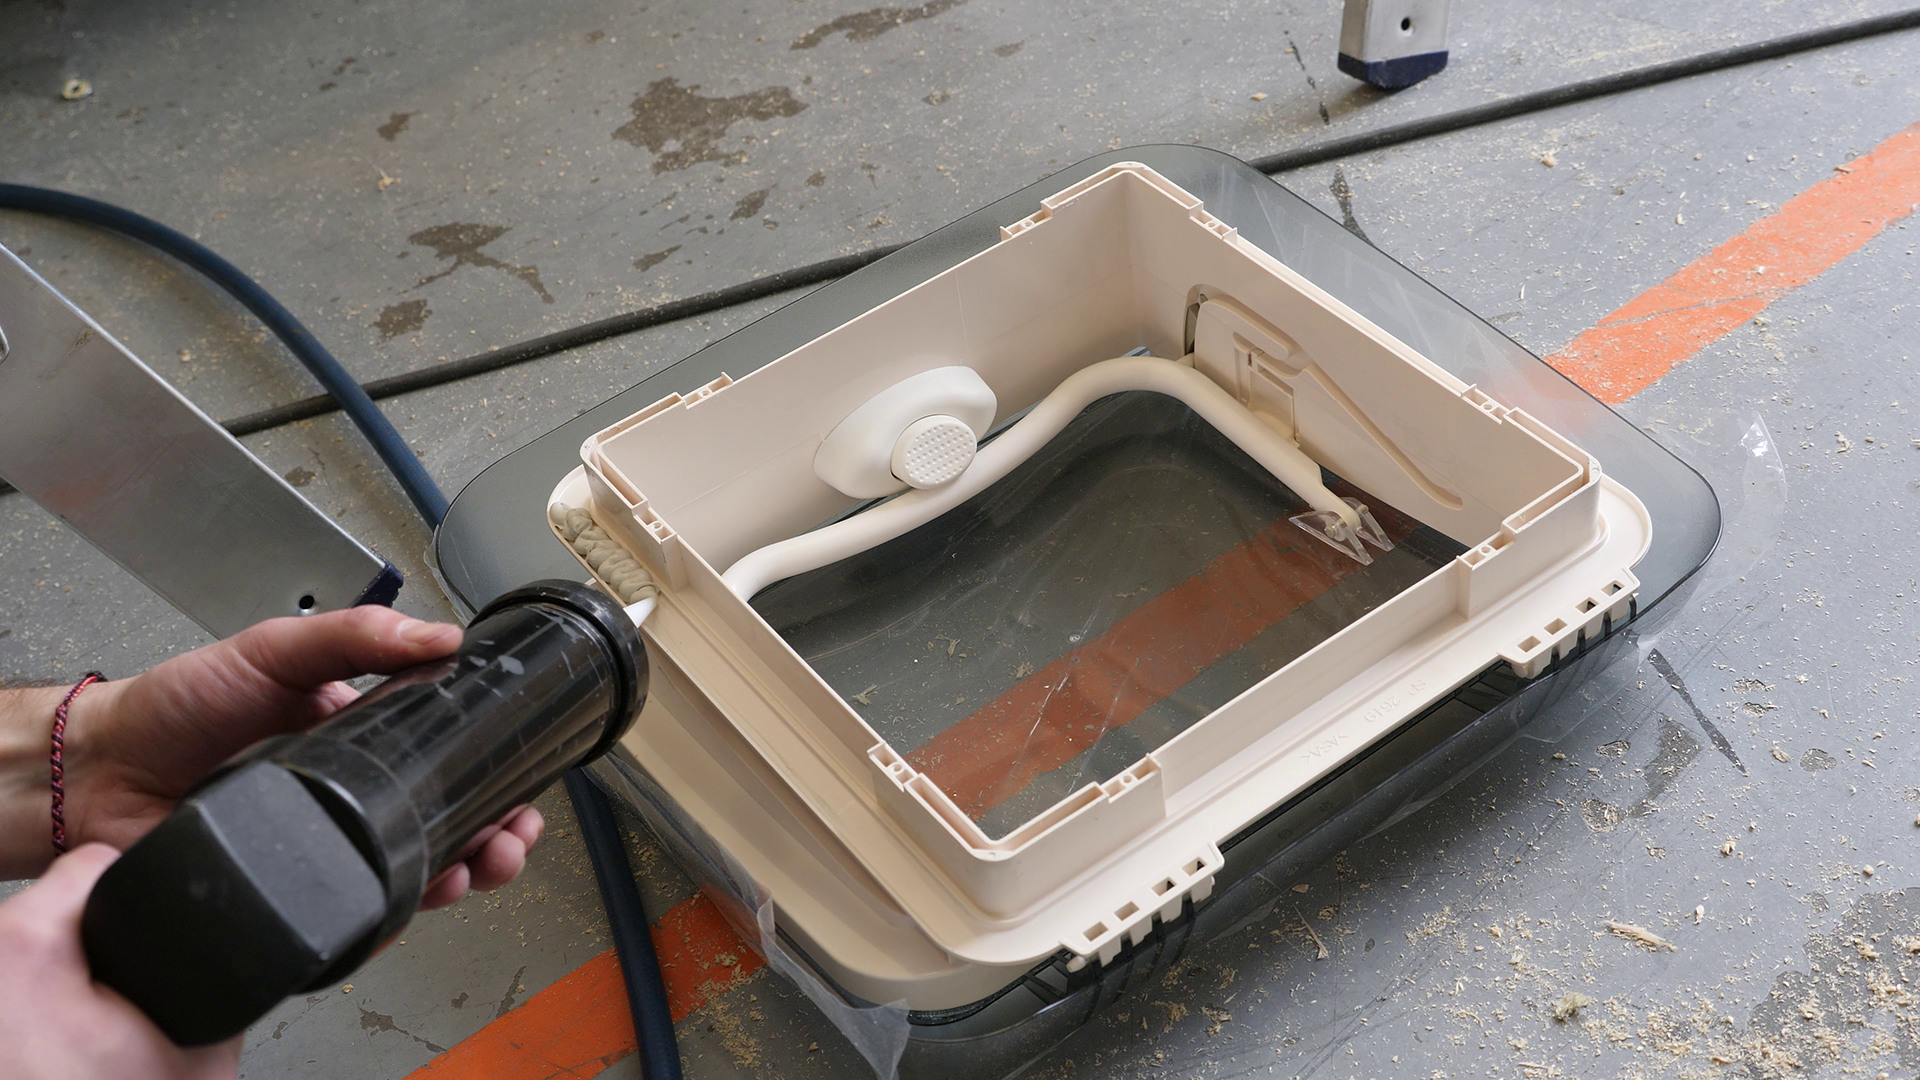
- fill the window/ hatch with sikalastomer at the designated location. For quantity, see below. We have also filled the roof beads with SikaLastomer.

- insert the window.


- apply Sikaflex to the upper or outer side of the frame that has already been built. Alternatively, coat the sheet metal (i.e. roof / wall) where there will be contact (on the valley sides of the beads at the roof).
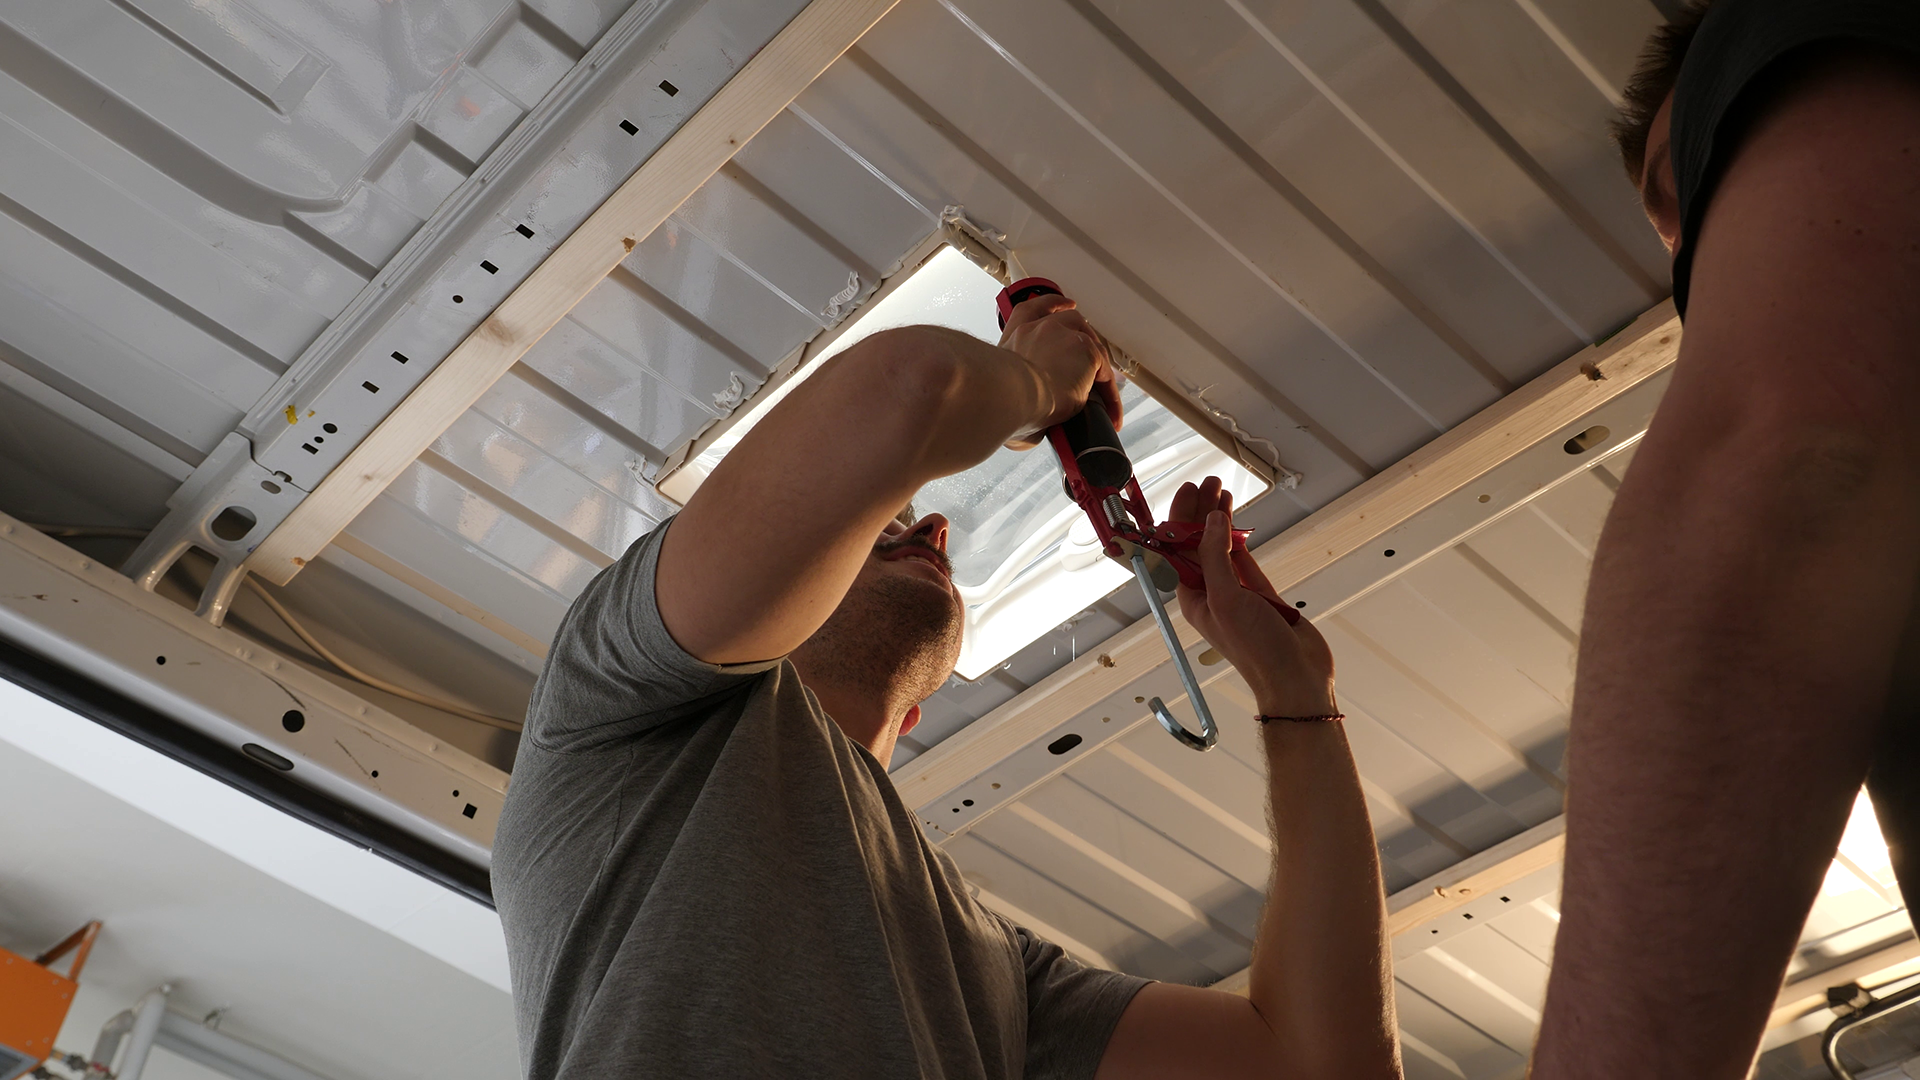
- set the frame from below against it.

- Lock window / hatch. The Micro-Heke has the stepped metal angles, the Mini-Heki the plastic piece and the window simply the inside of the window.
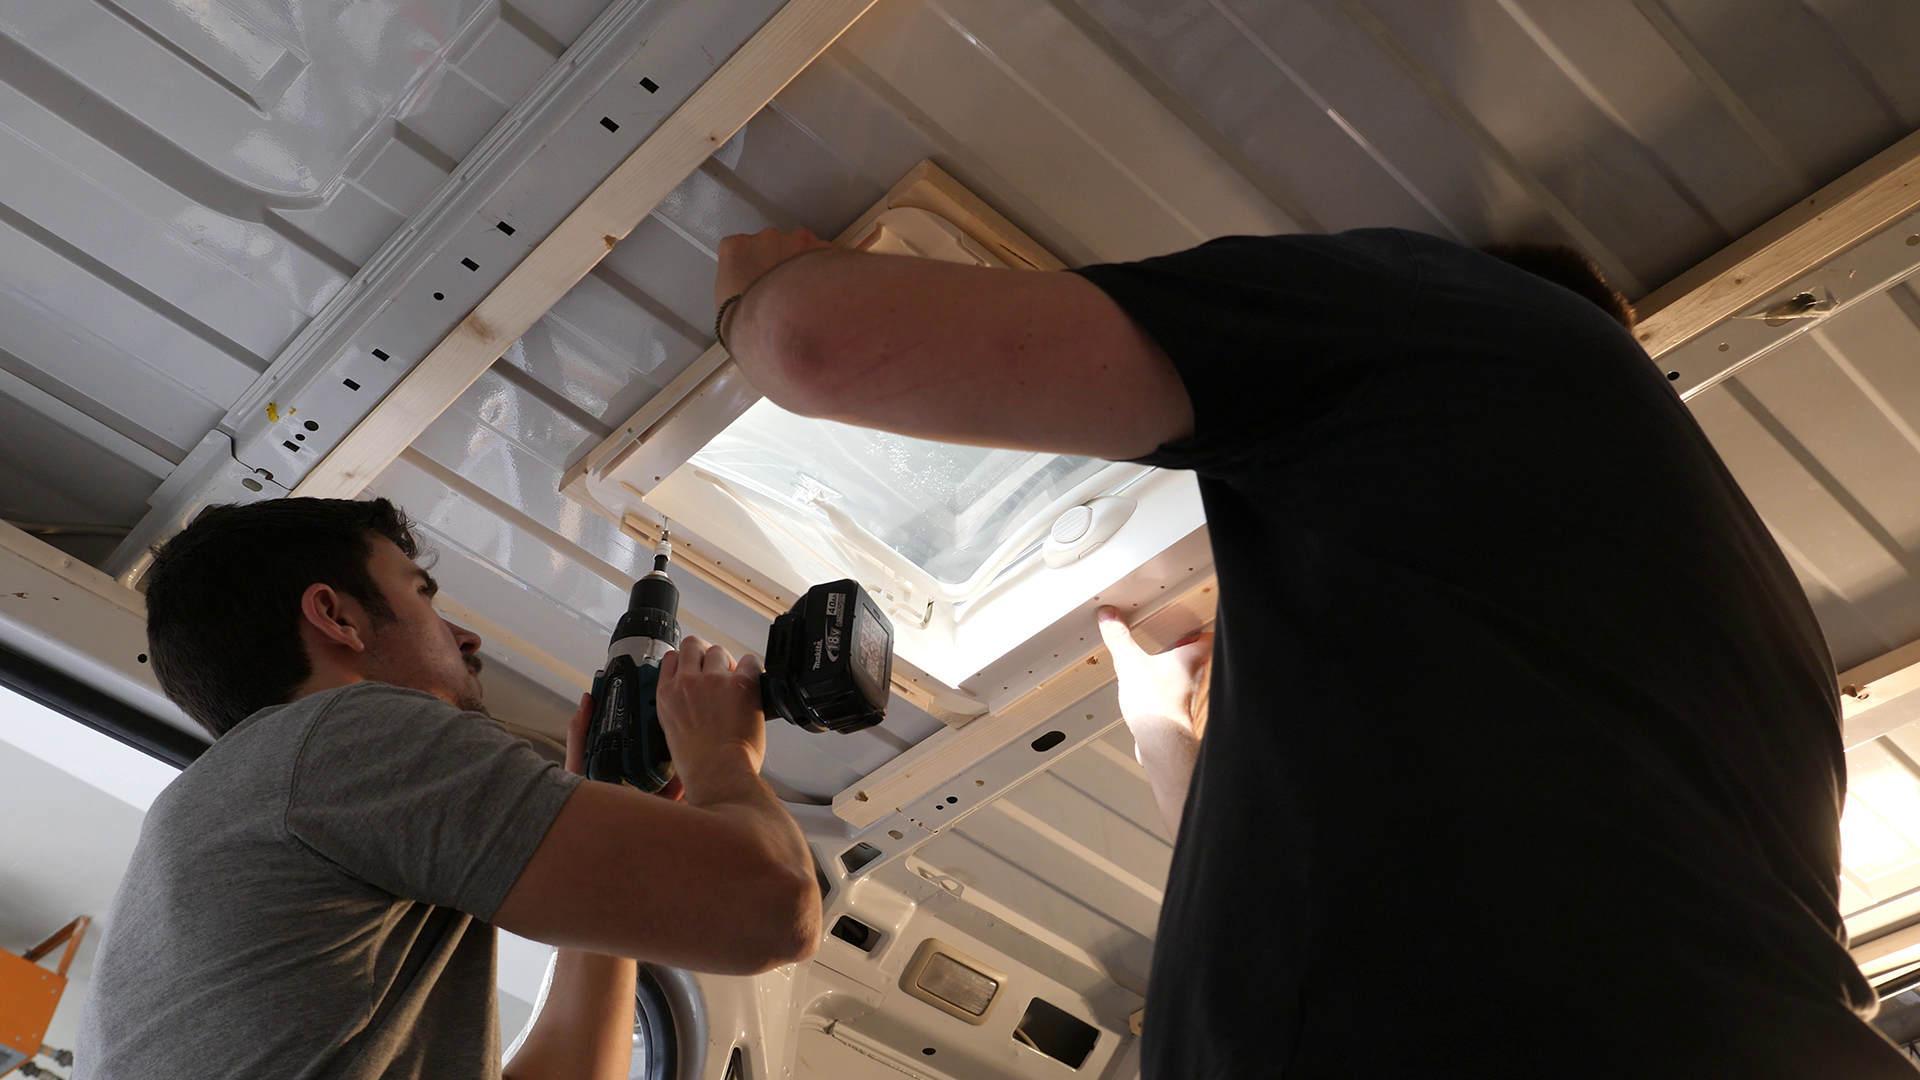
- finished - the inside is installed only after the ceiling has been installed.
Tricks that might make your life easier
Although in many online resources state that the mounting frame should be first glued with Sikaflex and the window is only mounted after curing, we have done this in one step. The reason: At the latest after the installation of the window/gate and the associated interior counter part, everything contracts so tightly that it presses at least as tightly as a clamp.
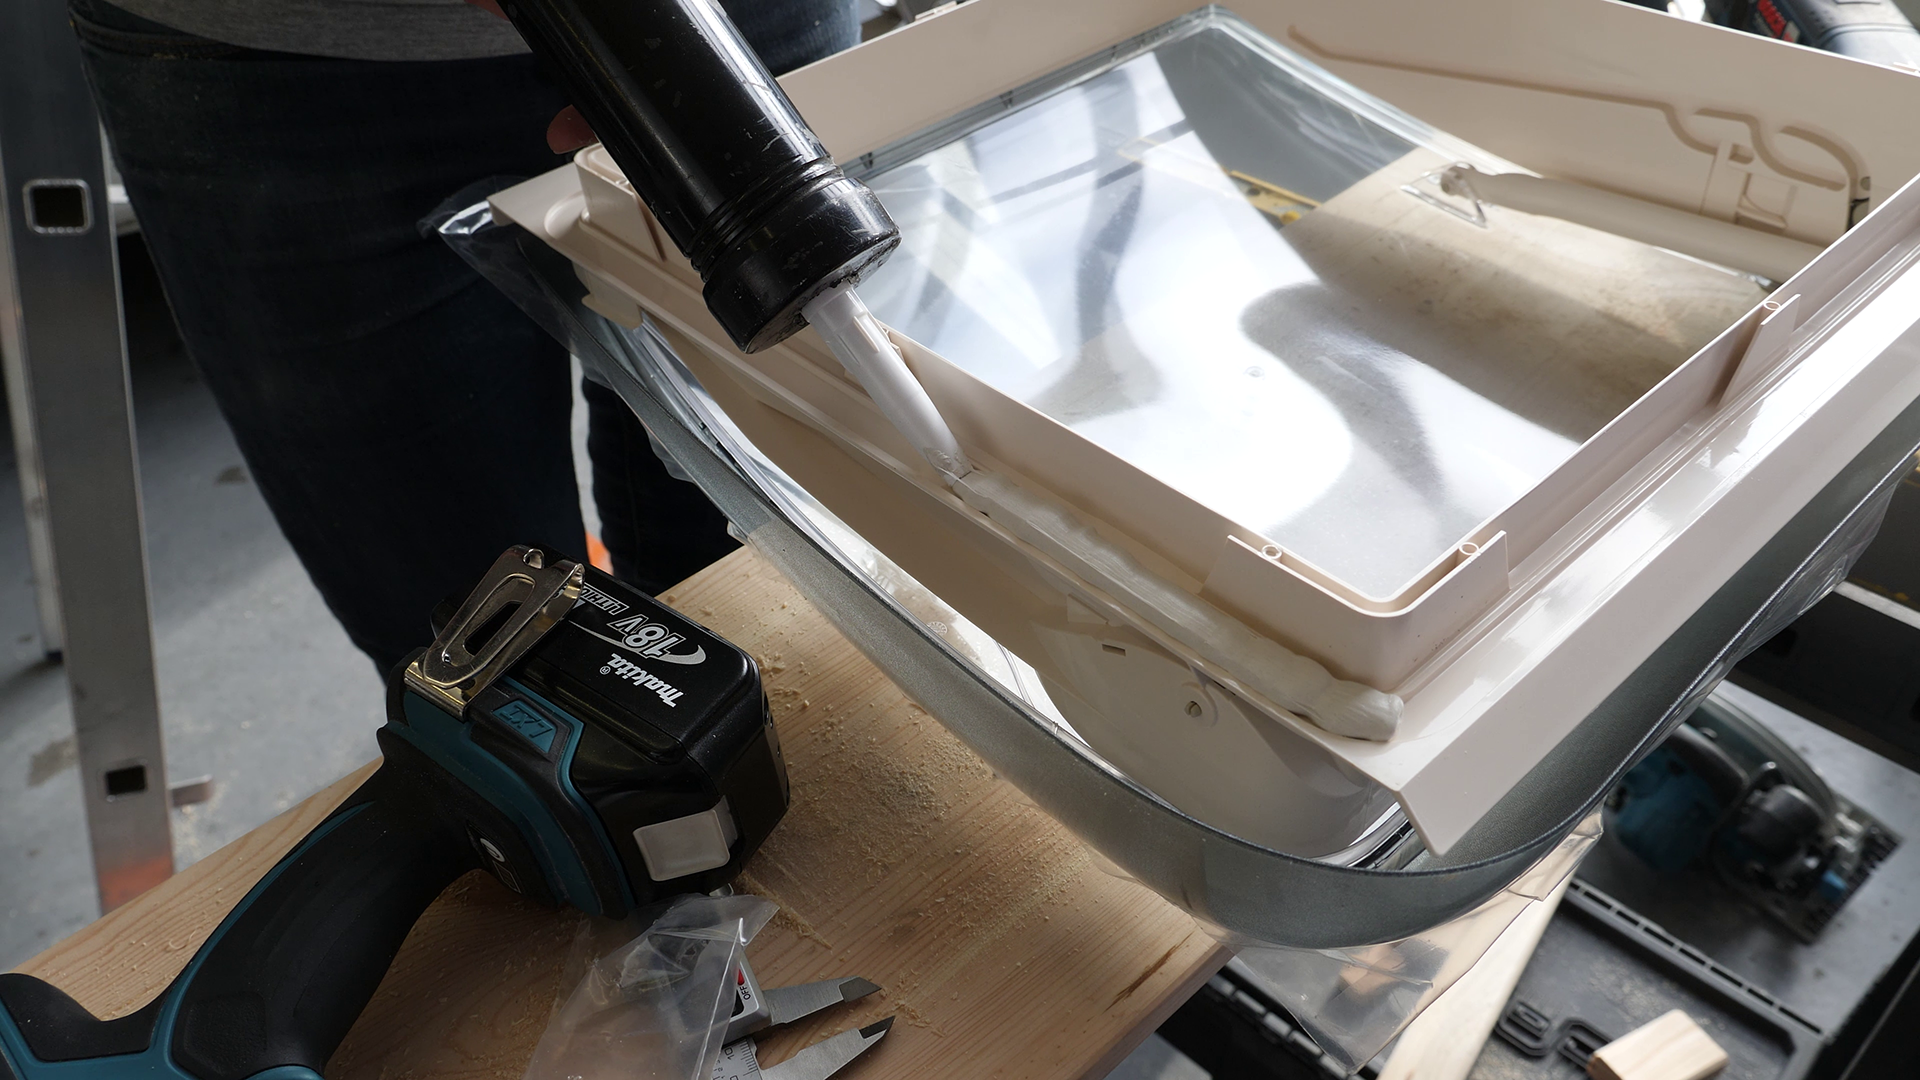
The answer to the question "What is the right amount of Sika elastomer?" is as follows: The assembly instructions simply show a sausage, which doesn't really help. The following thought support has helped me that the seams were cleaner than with the Pössl camper of a friend: Fill the glue gutter exactly so that the volume of the glue gutter is filled when the jumble is flattened and another tick (10%) more, so that the glue sausage is just pressed out to the side during assembly so that it is tight, but does not have to be wiped off. In the following picture the black sausage should have the same surface as the red one:

Starting at a frame thickness of 26mm you have to buy extra screws to mount the S4 windows. They are hard to find and it costs time. To be honest, I think it's pretty lame that Dometic doesn't all screws that may be needed with a 500€+ windows. We used 4x40mm Spax screws and a washer, but here you have to be careful not to drill too deep and the screws are too long. The original screws are also blunt and therefore less "idiosyncratic" where they screw themselves long - in case of doubt cut off the screws.


What you can do better
Don't screw too deeply at the window and always put on screws.
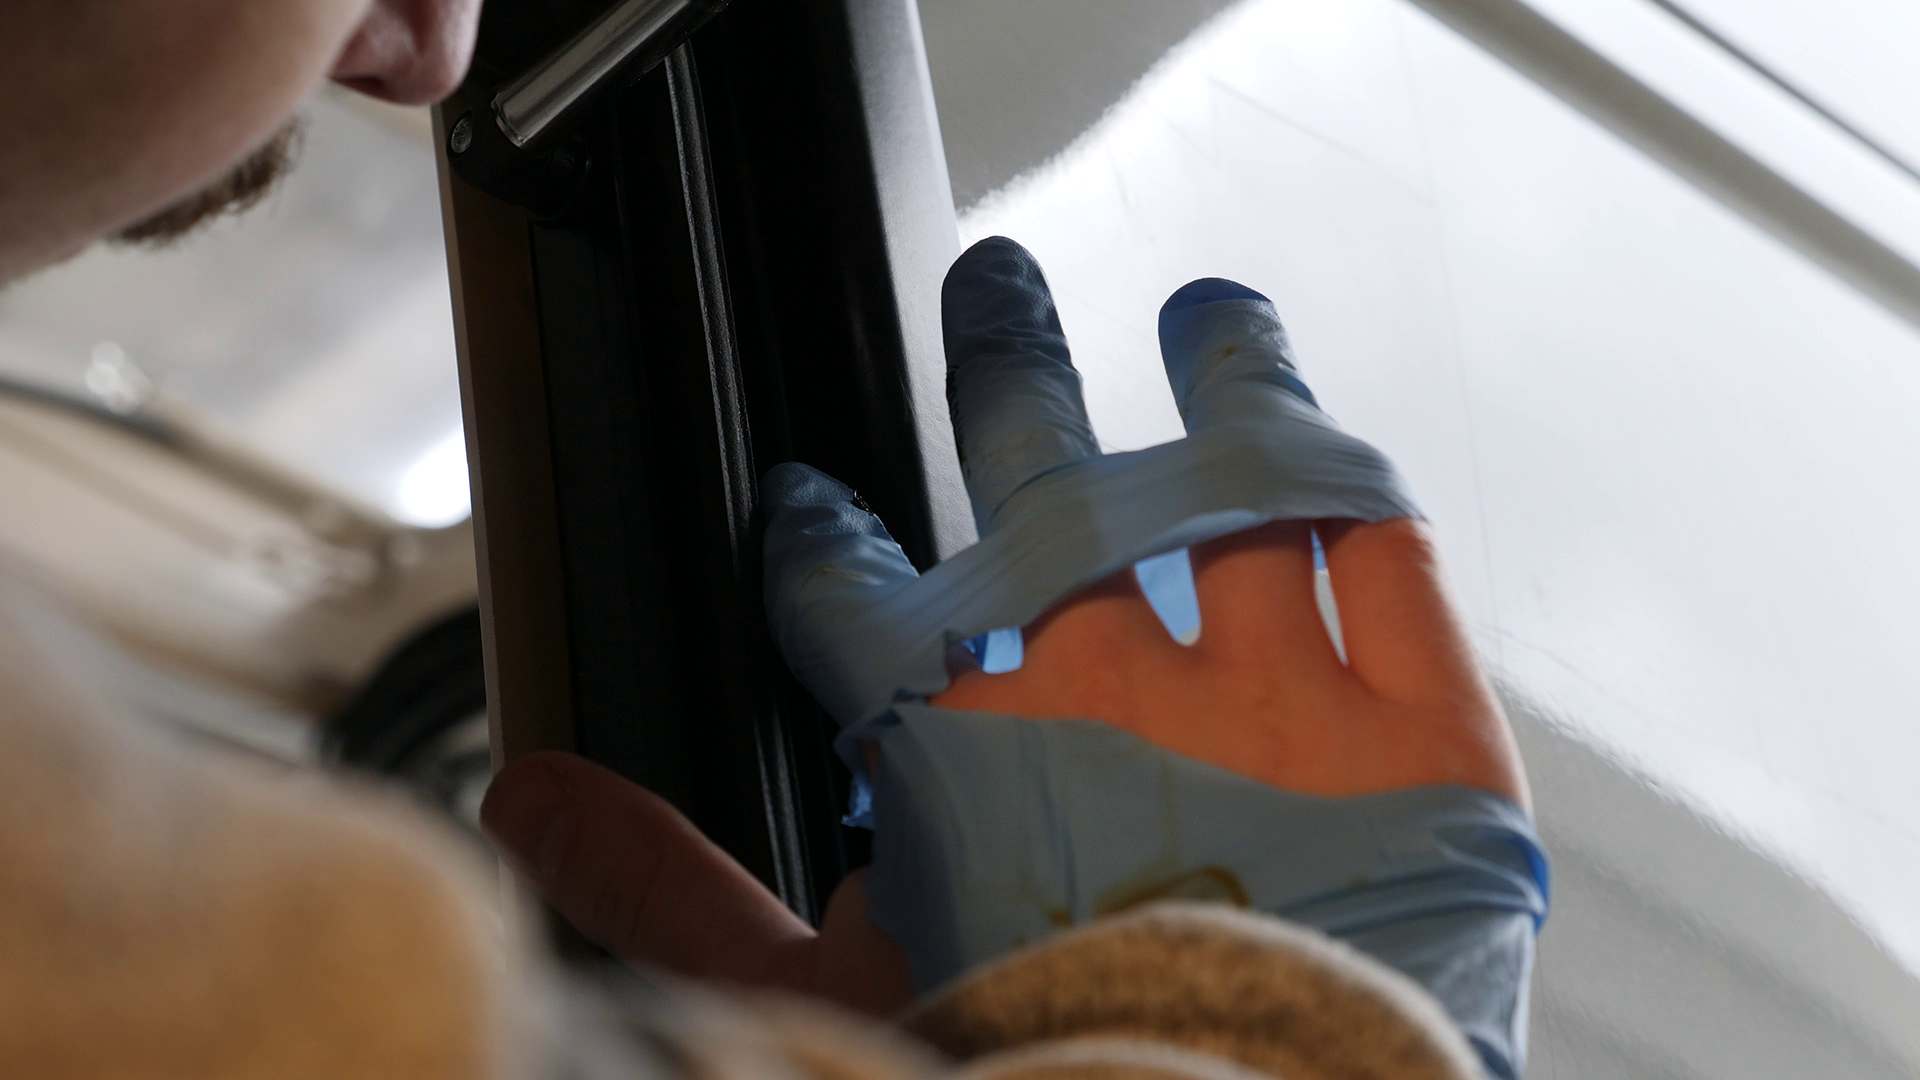
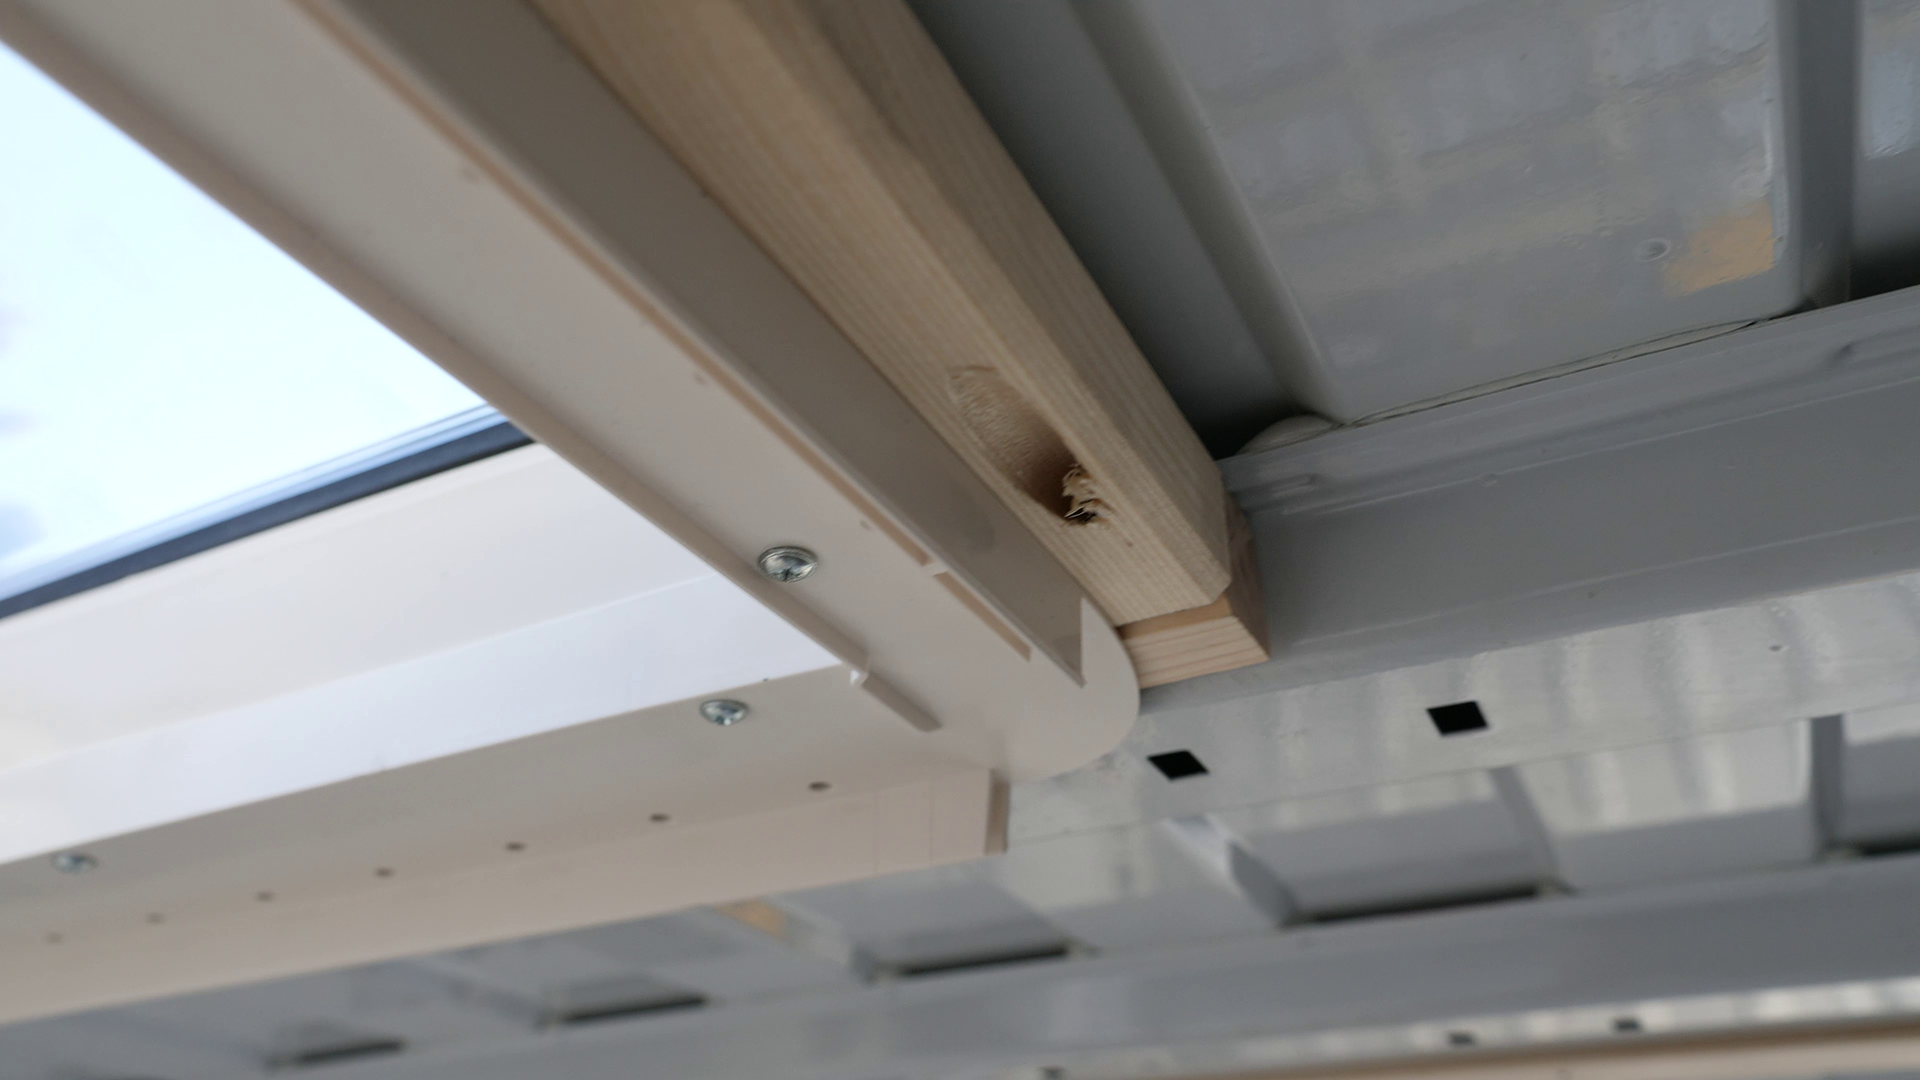
Since Dometic is not able to deliver the 3.9x50mm screws (as described in the manual) and the corresponding screws (disc head, no tip), we had to switch to Spax with washer (see above). When I wanted to set the notch on the cordless screwdriver from 3 to 5 when screwing it in, I accidentally set it to "Drilling". This caused me to screw in the screw too deeply and it damaged the window frame on the outside by leaking out. Extremely bitter. I repaired this by screwing the screws back a bit, sanding the corresponding spot with a proxon and filling the hollow with Sika 521UV. Afterwards I smoothed it with a glove that was dipped in water in front of it.


 <font color=#38B0DE>-==- Proudly Presents
Better saw 2-3mm too big recesses, so you save time for reworking.
Except for a roof hatch all cutouts were always one tick too small, which made reworking necessary. In case of doubt it is better to cut out "too much" (=3mm). Especially if you use a mounting frame, this does not matter.
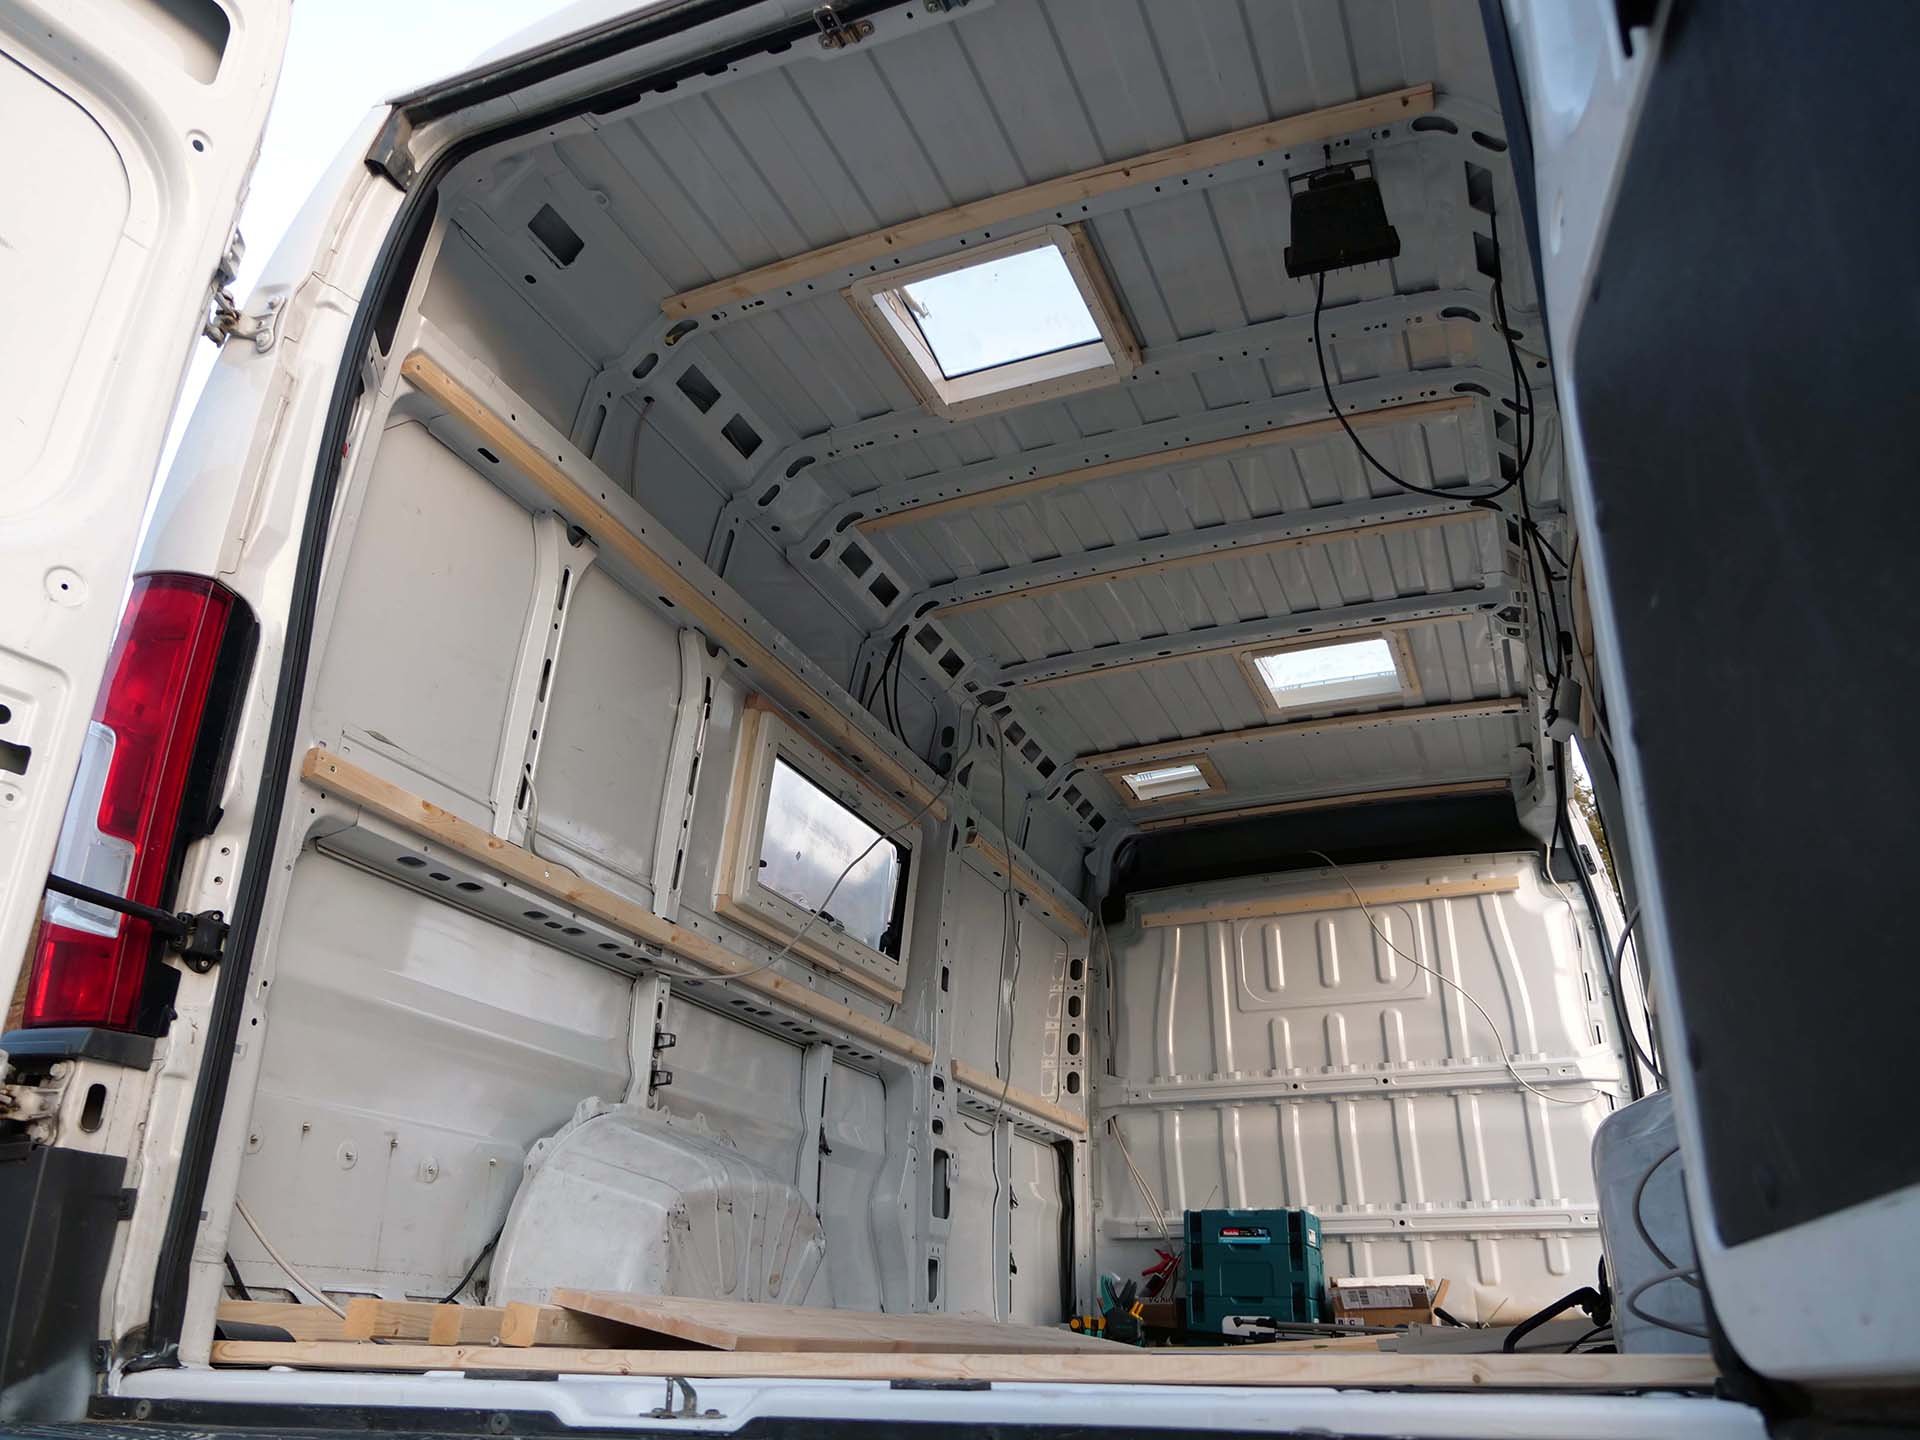
Result
Otherwise it was actually quite smooth! You can see the result here:
Shoutout
Special thanks go to Dani, who took care of us in his hall! The compressed air operation of the cartridge gun there was also a real blessing! Thanks also to Moe and Lukas.